
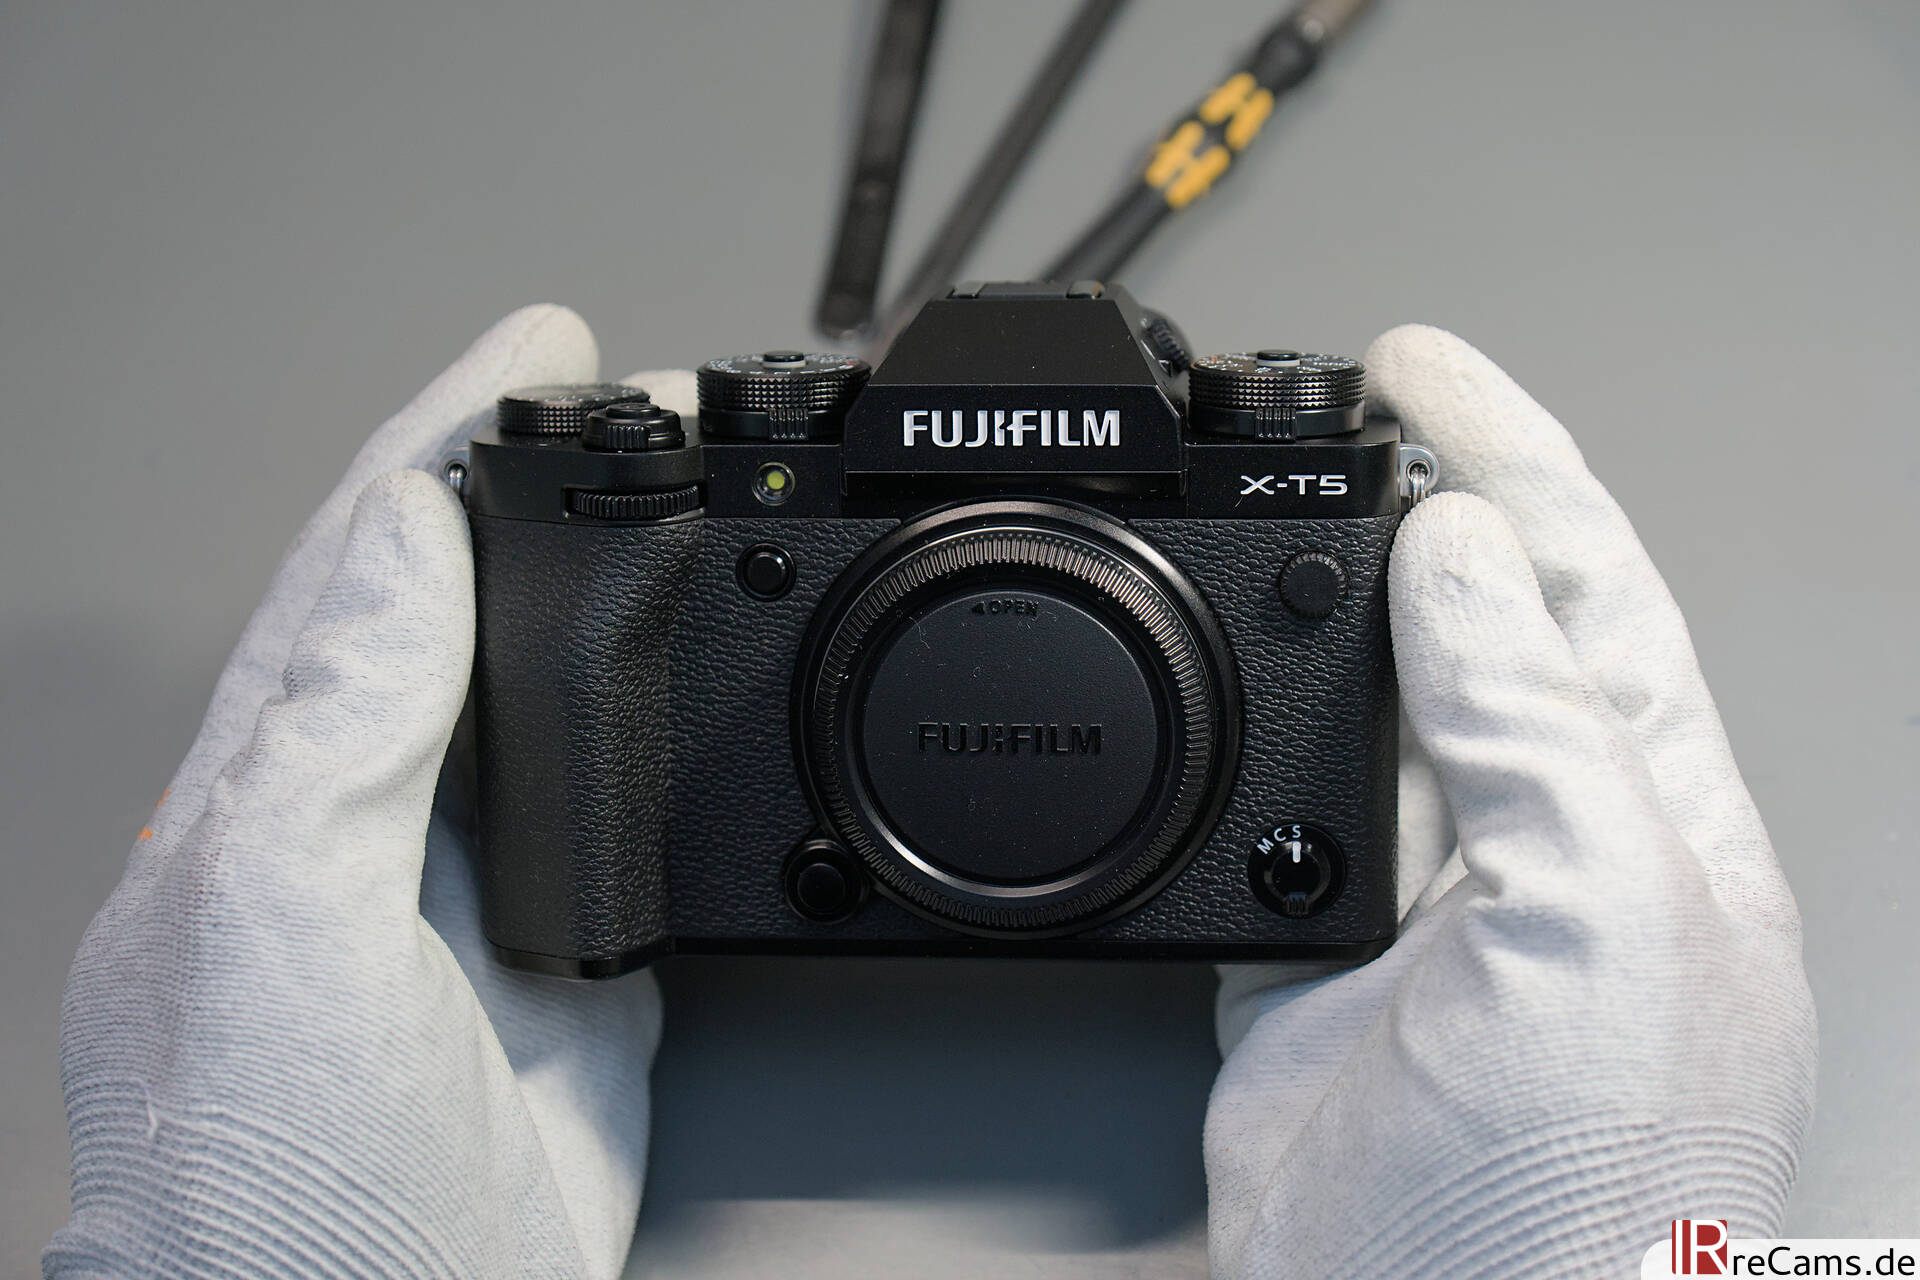
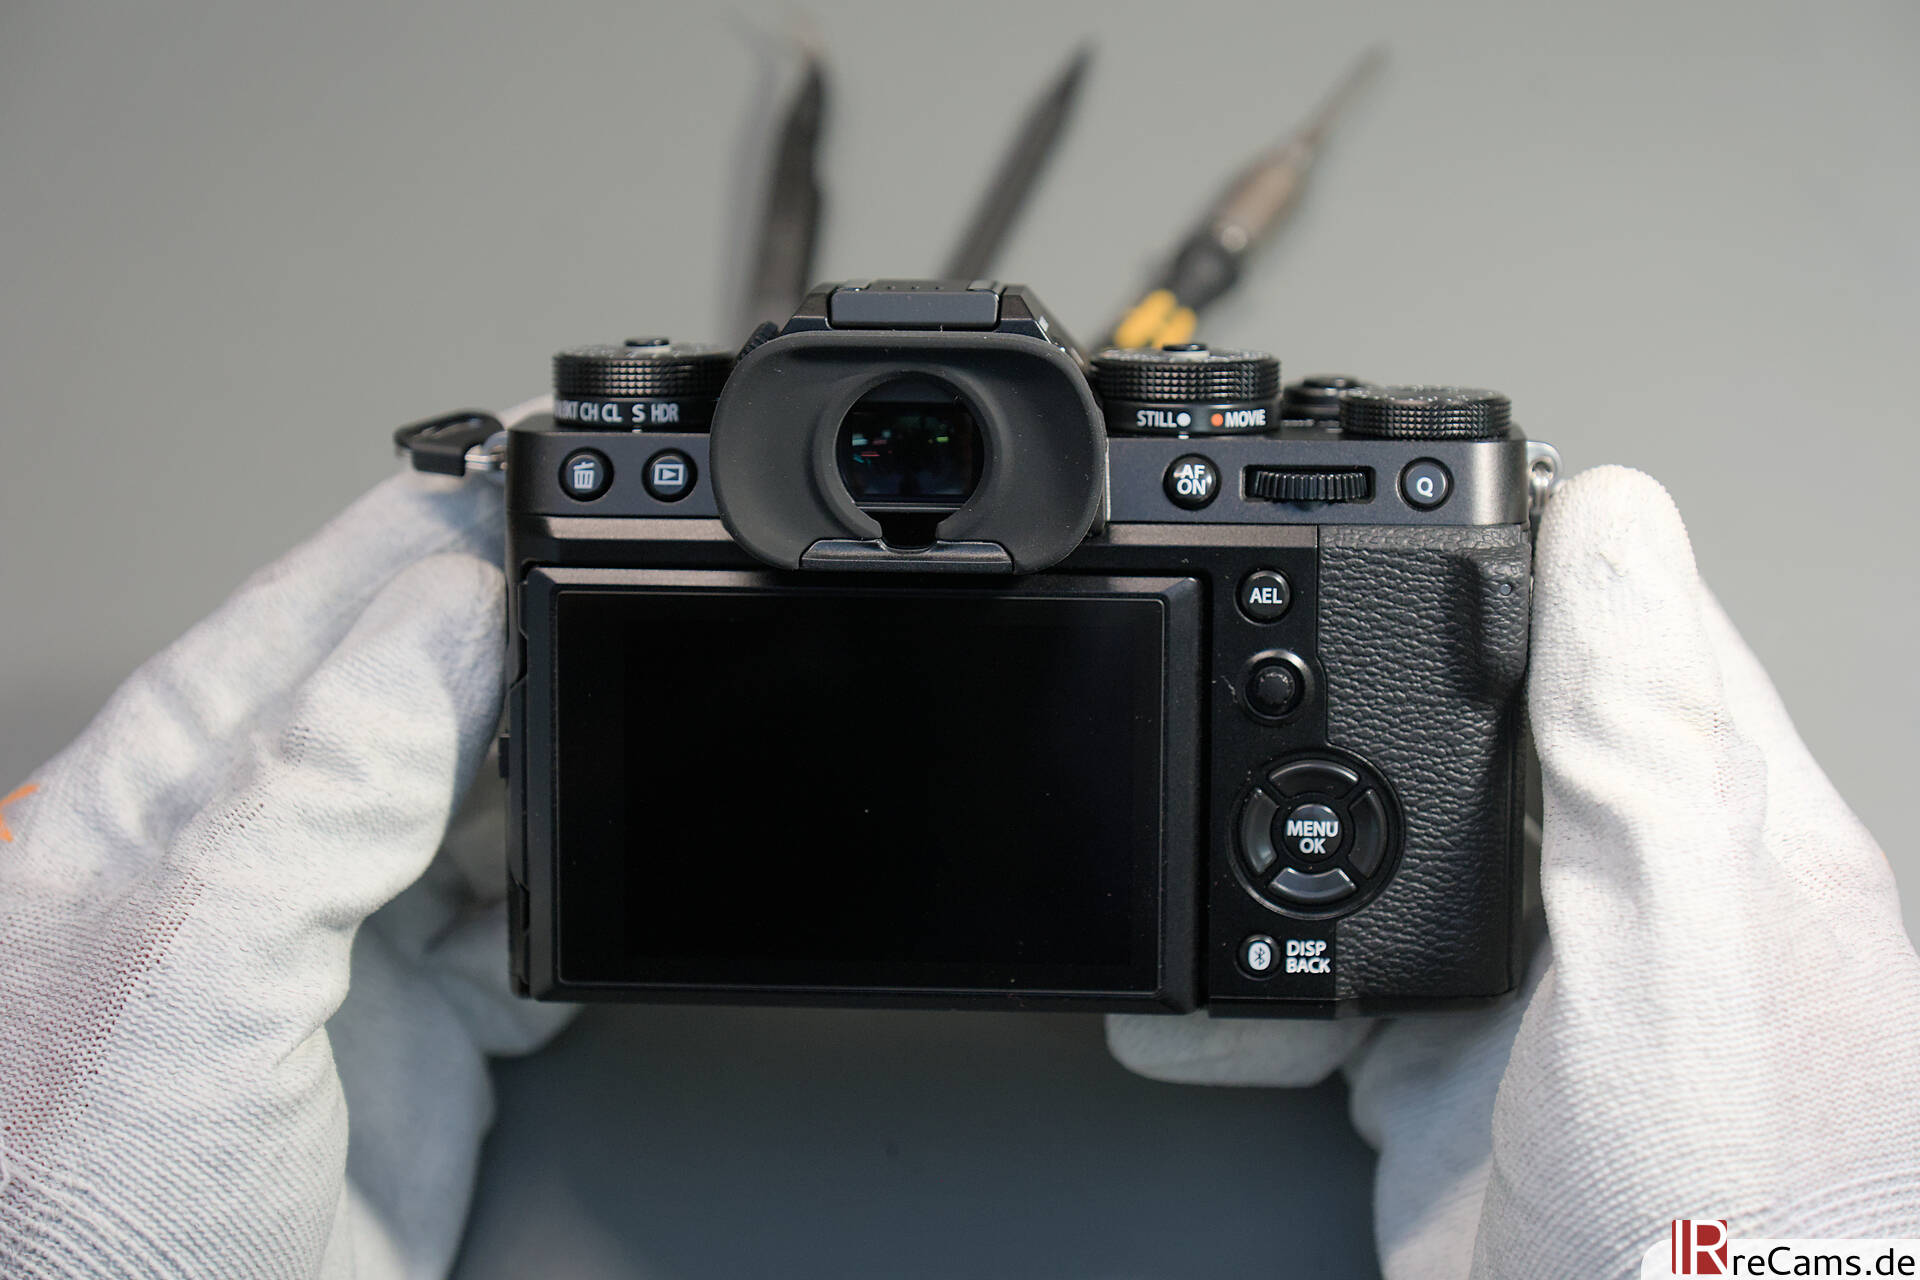
The Fujifilm X-T5 is after the X-H2 the second camera to be presented with the 40 MP X-Trans CMOS 5 HR sensor. The camera has a more compact design and focuses on photography rather than video. It continues the successful X-T series with its iconic analog dials and is one of the most popular models among Fujifilm photographers. We also took a look at the camera from the inside and can summarize the design in a nutshell: Compact and powerful photo camera.
Important:The camera has been modified by routined professionals, please do not attempt to do this at home. This article is not a guide and there will be no assistance from our side to convert your camera. If you do decide to open your camera, IRreCams is not responsible or liable for any damage or problems resulting from your actions.
Disassembly and Teardown of the X-T5
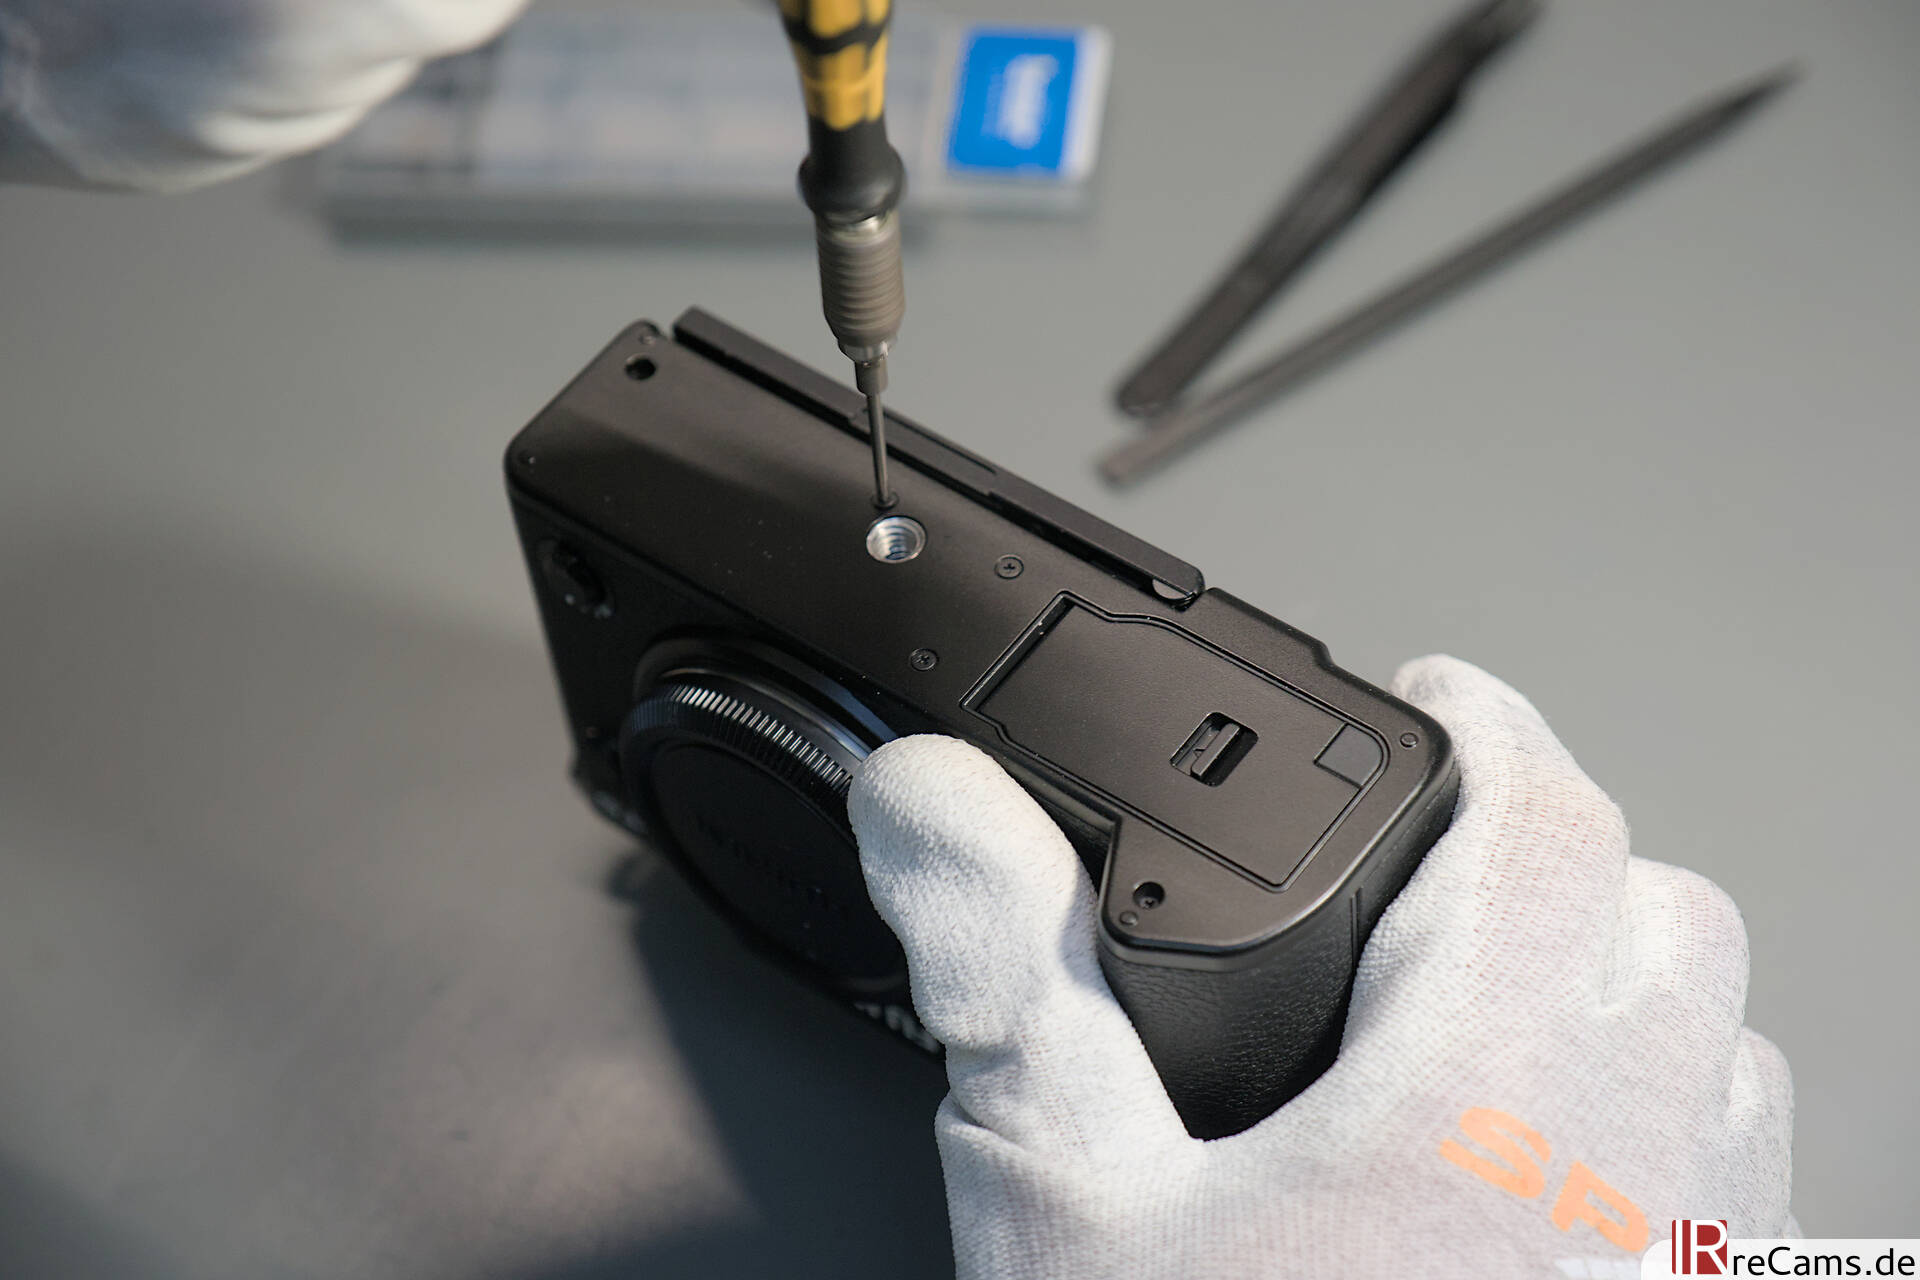
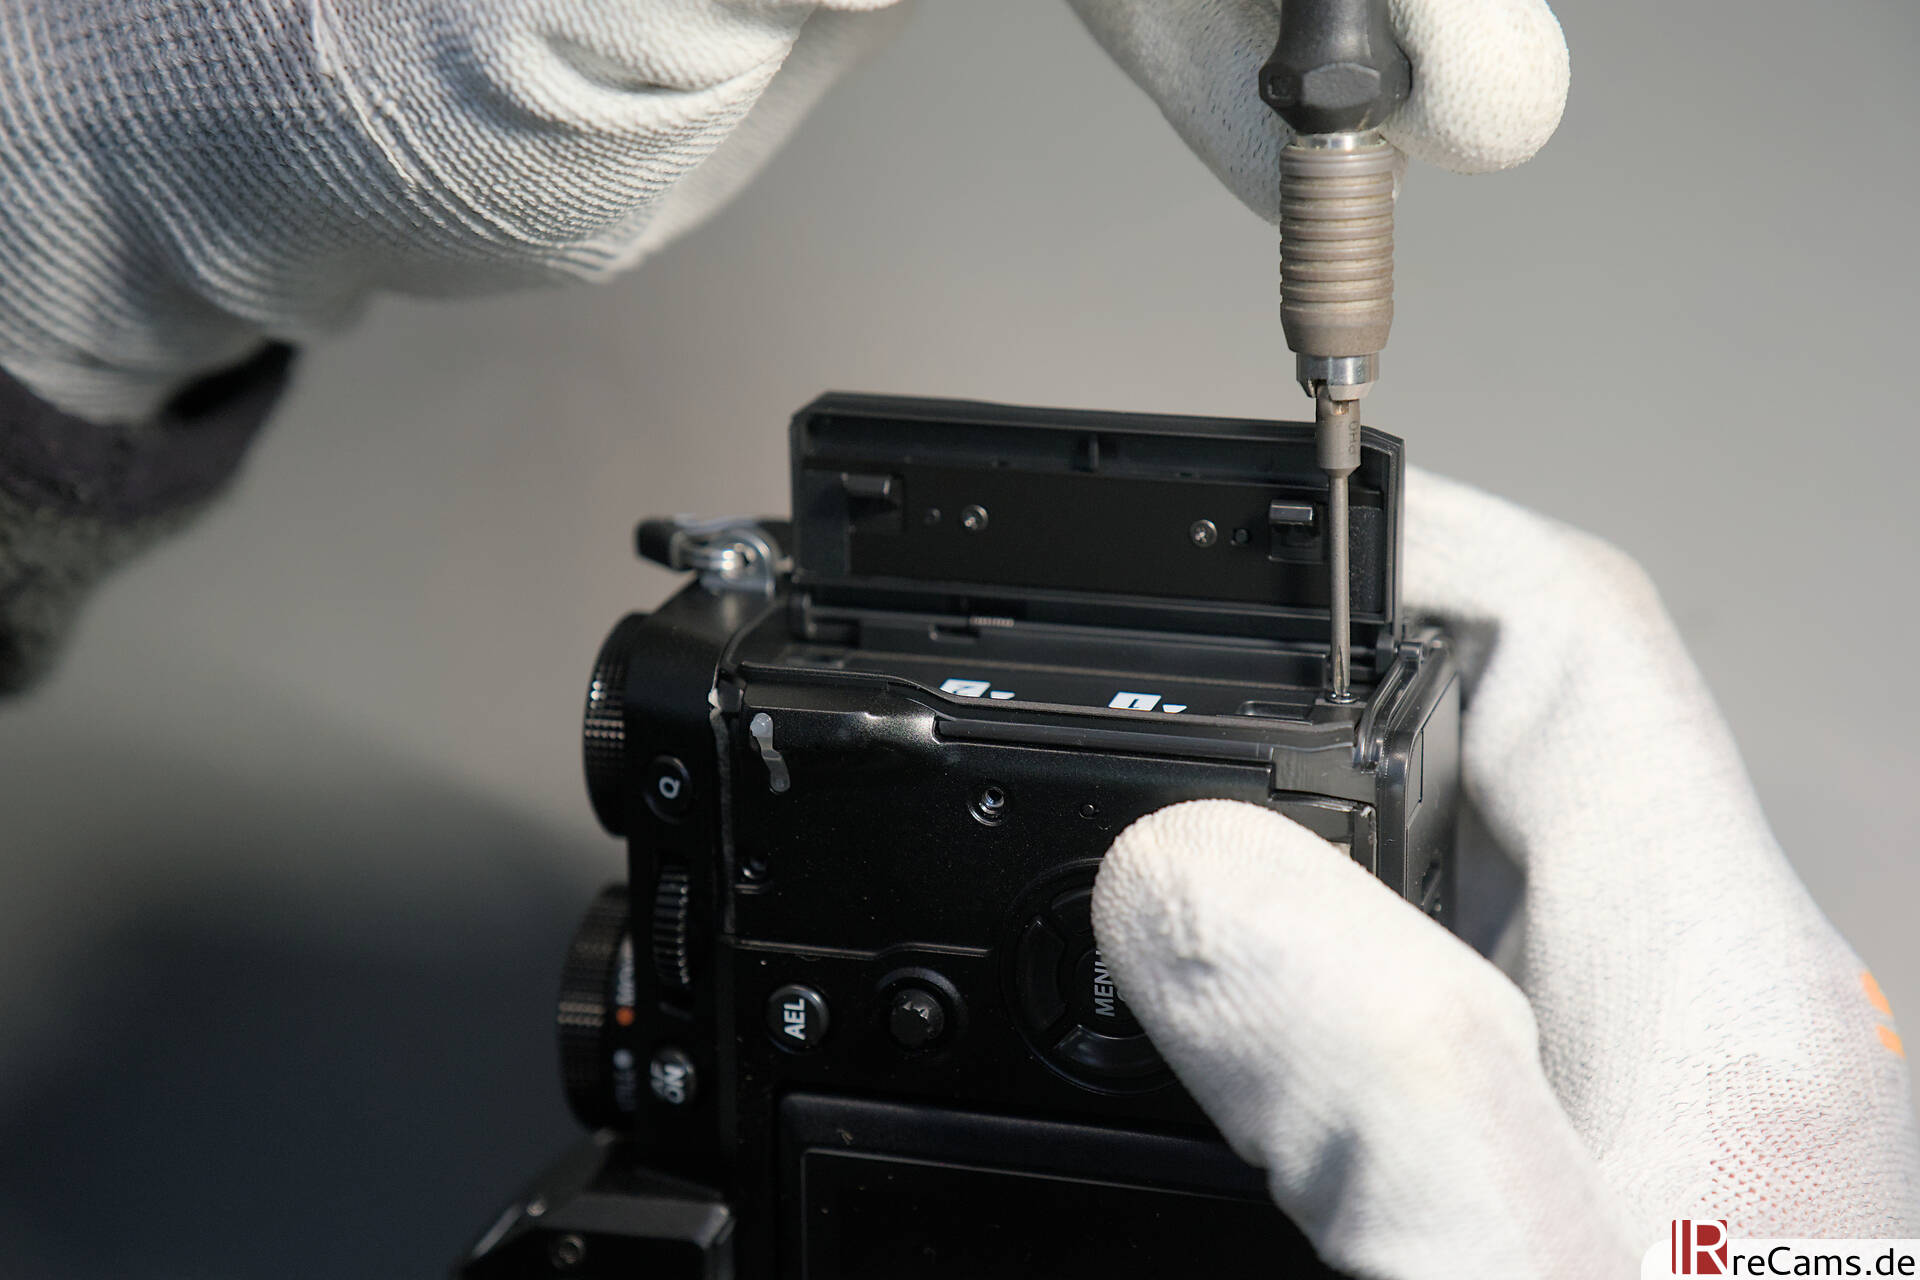
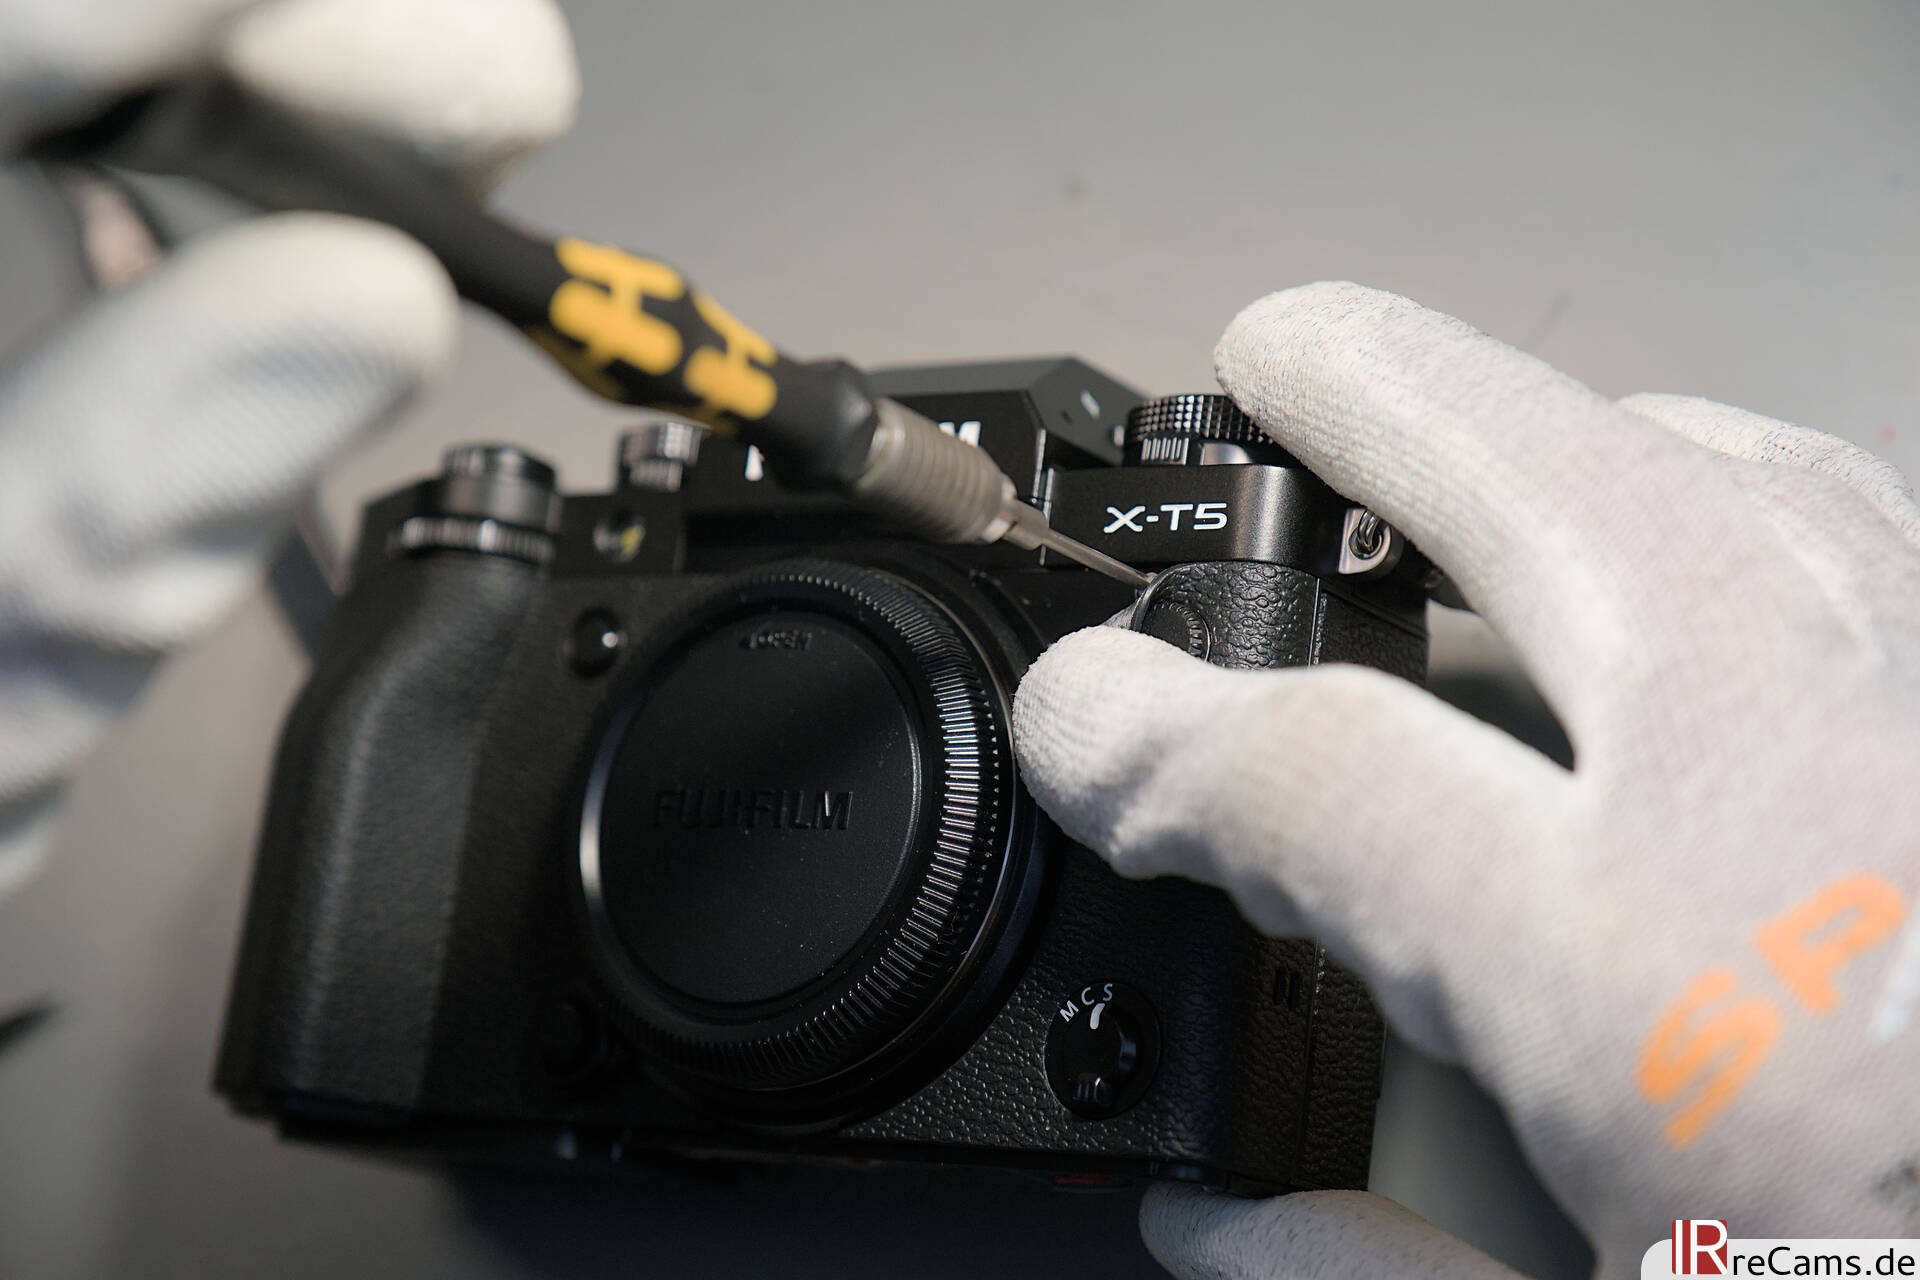
Let's start with a little finger exercise to warm up: Many screws are directly accessible at the bottom of the camera. To be able to remove the base plate, these must be loosened completely. One last screw is located under the thumb rubber coating.
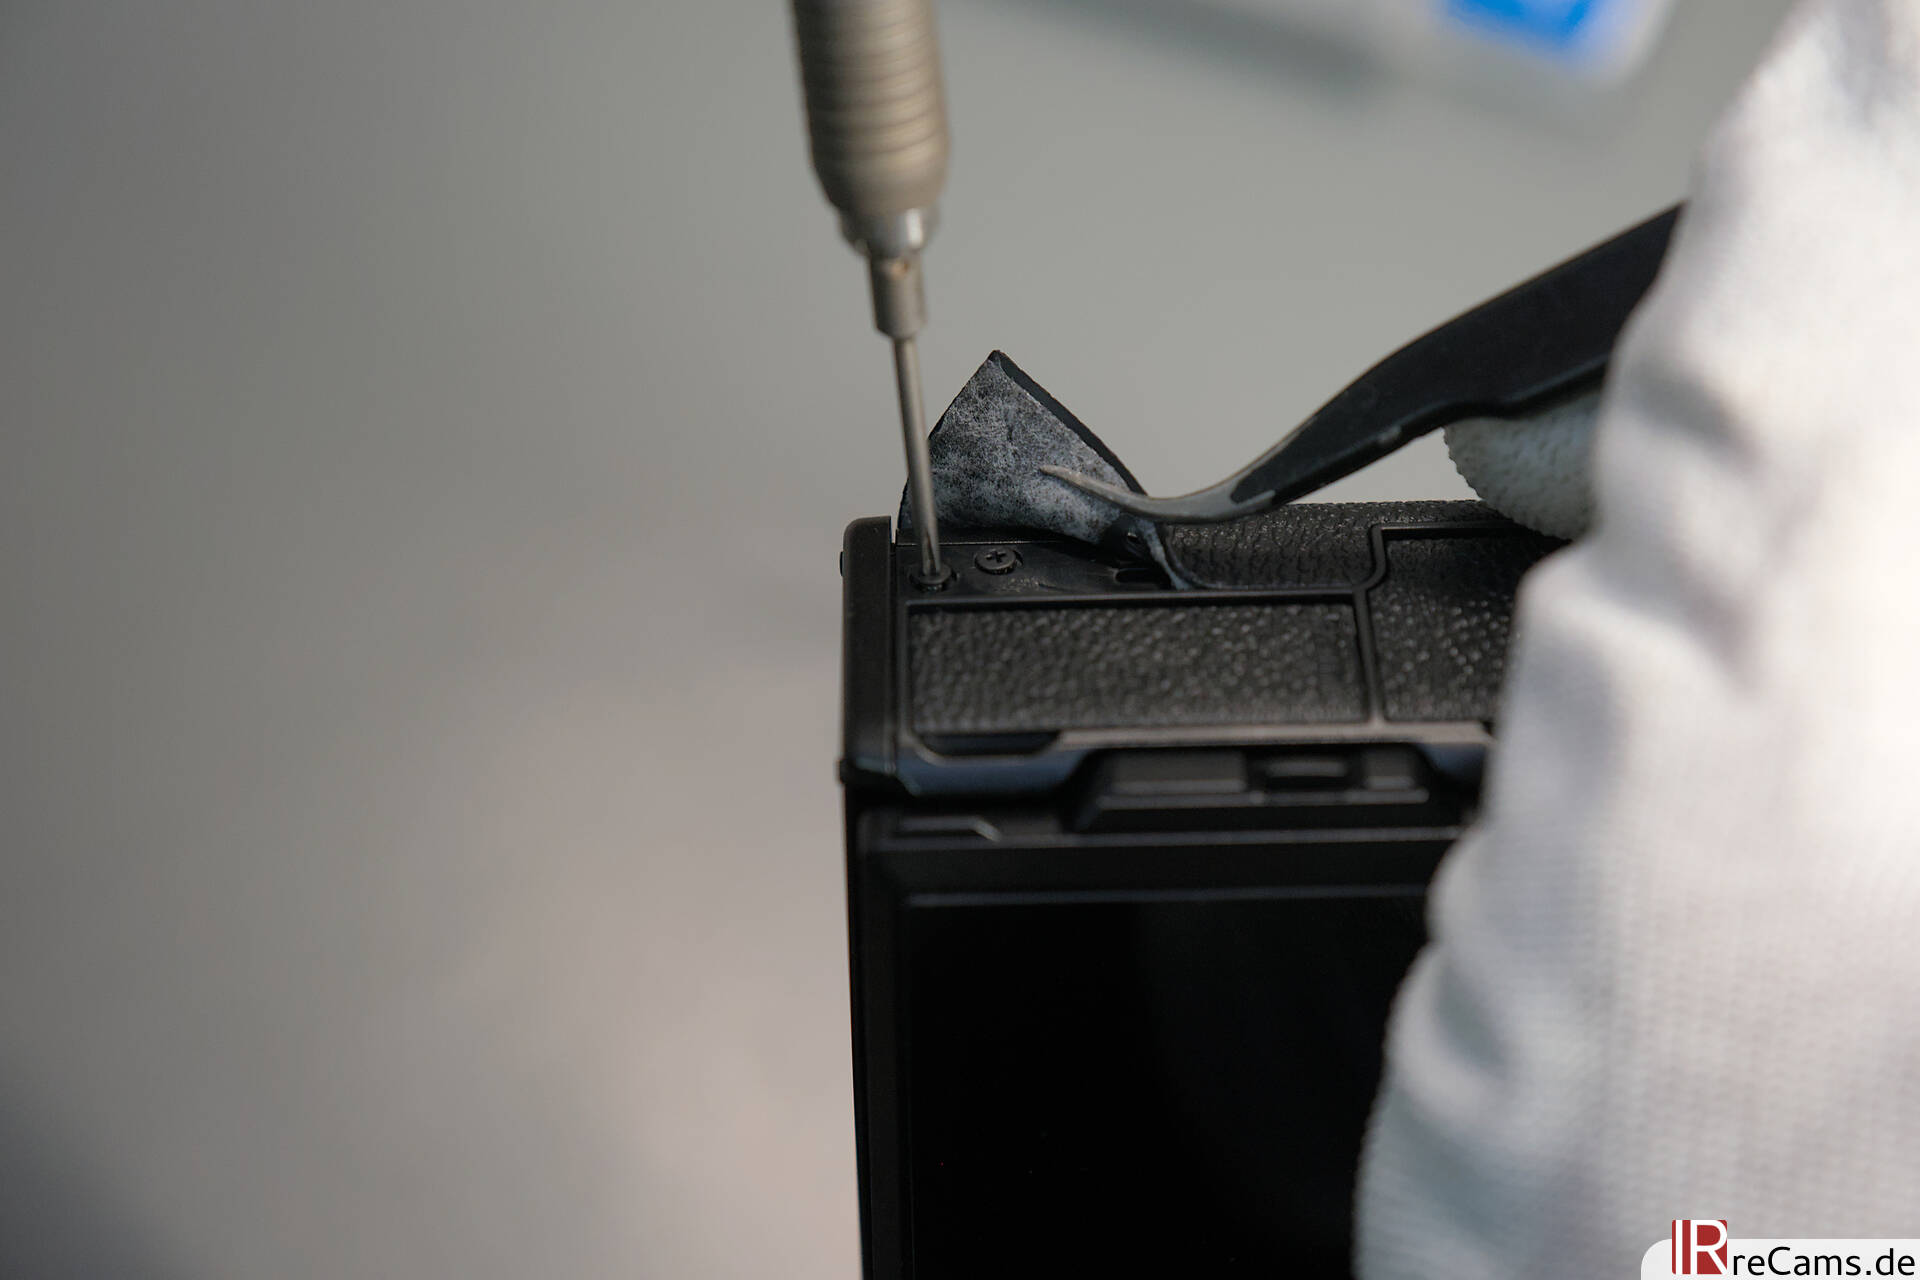
The other screws on the housing are not always easy to find straight away. Very often they are located under the rubber coating, in the typical Fuji places. There are several screws on the left, right and front of the housing that hold everything securely together.
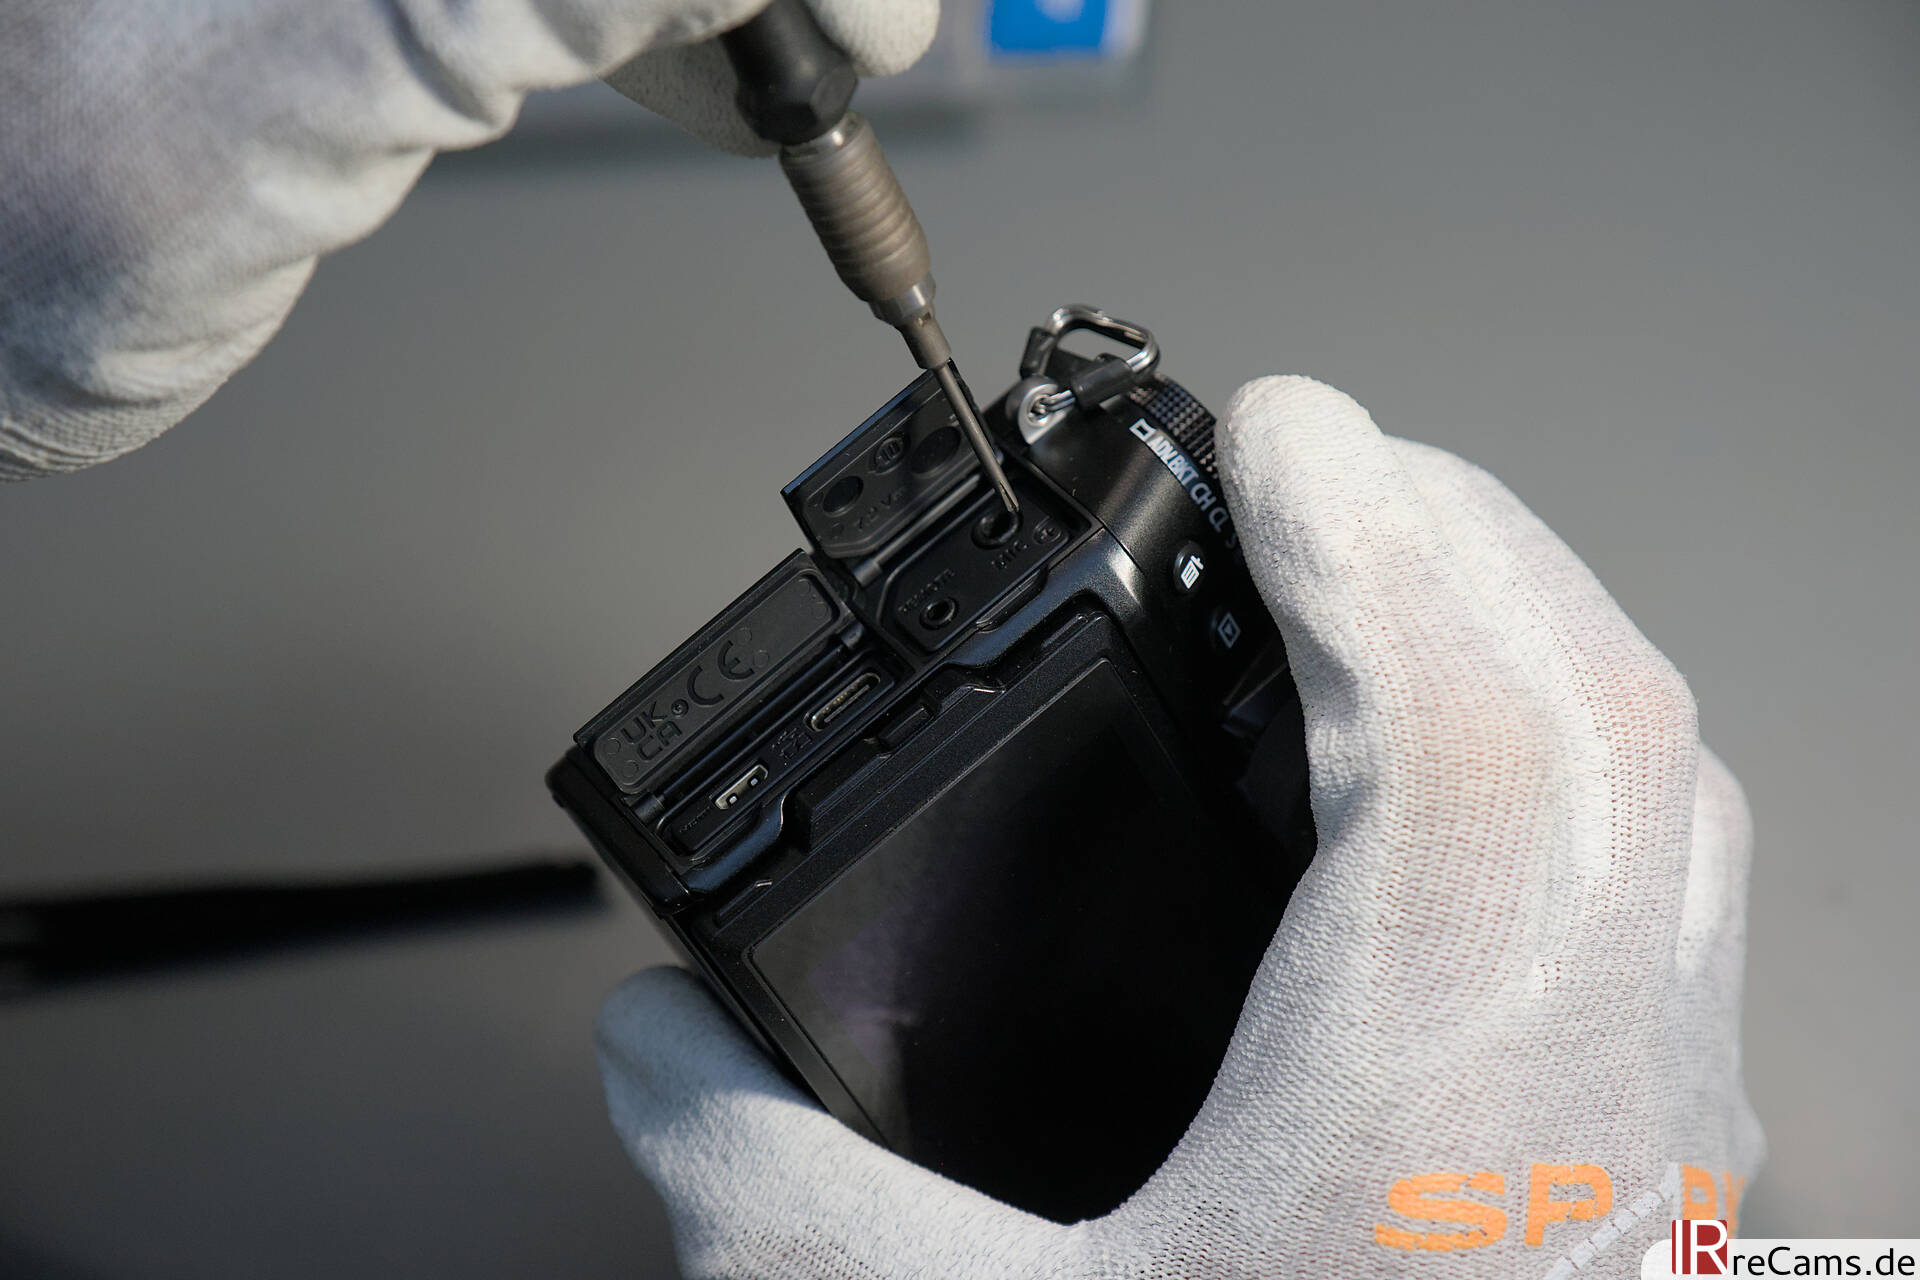
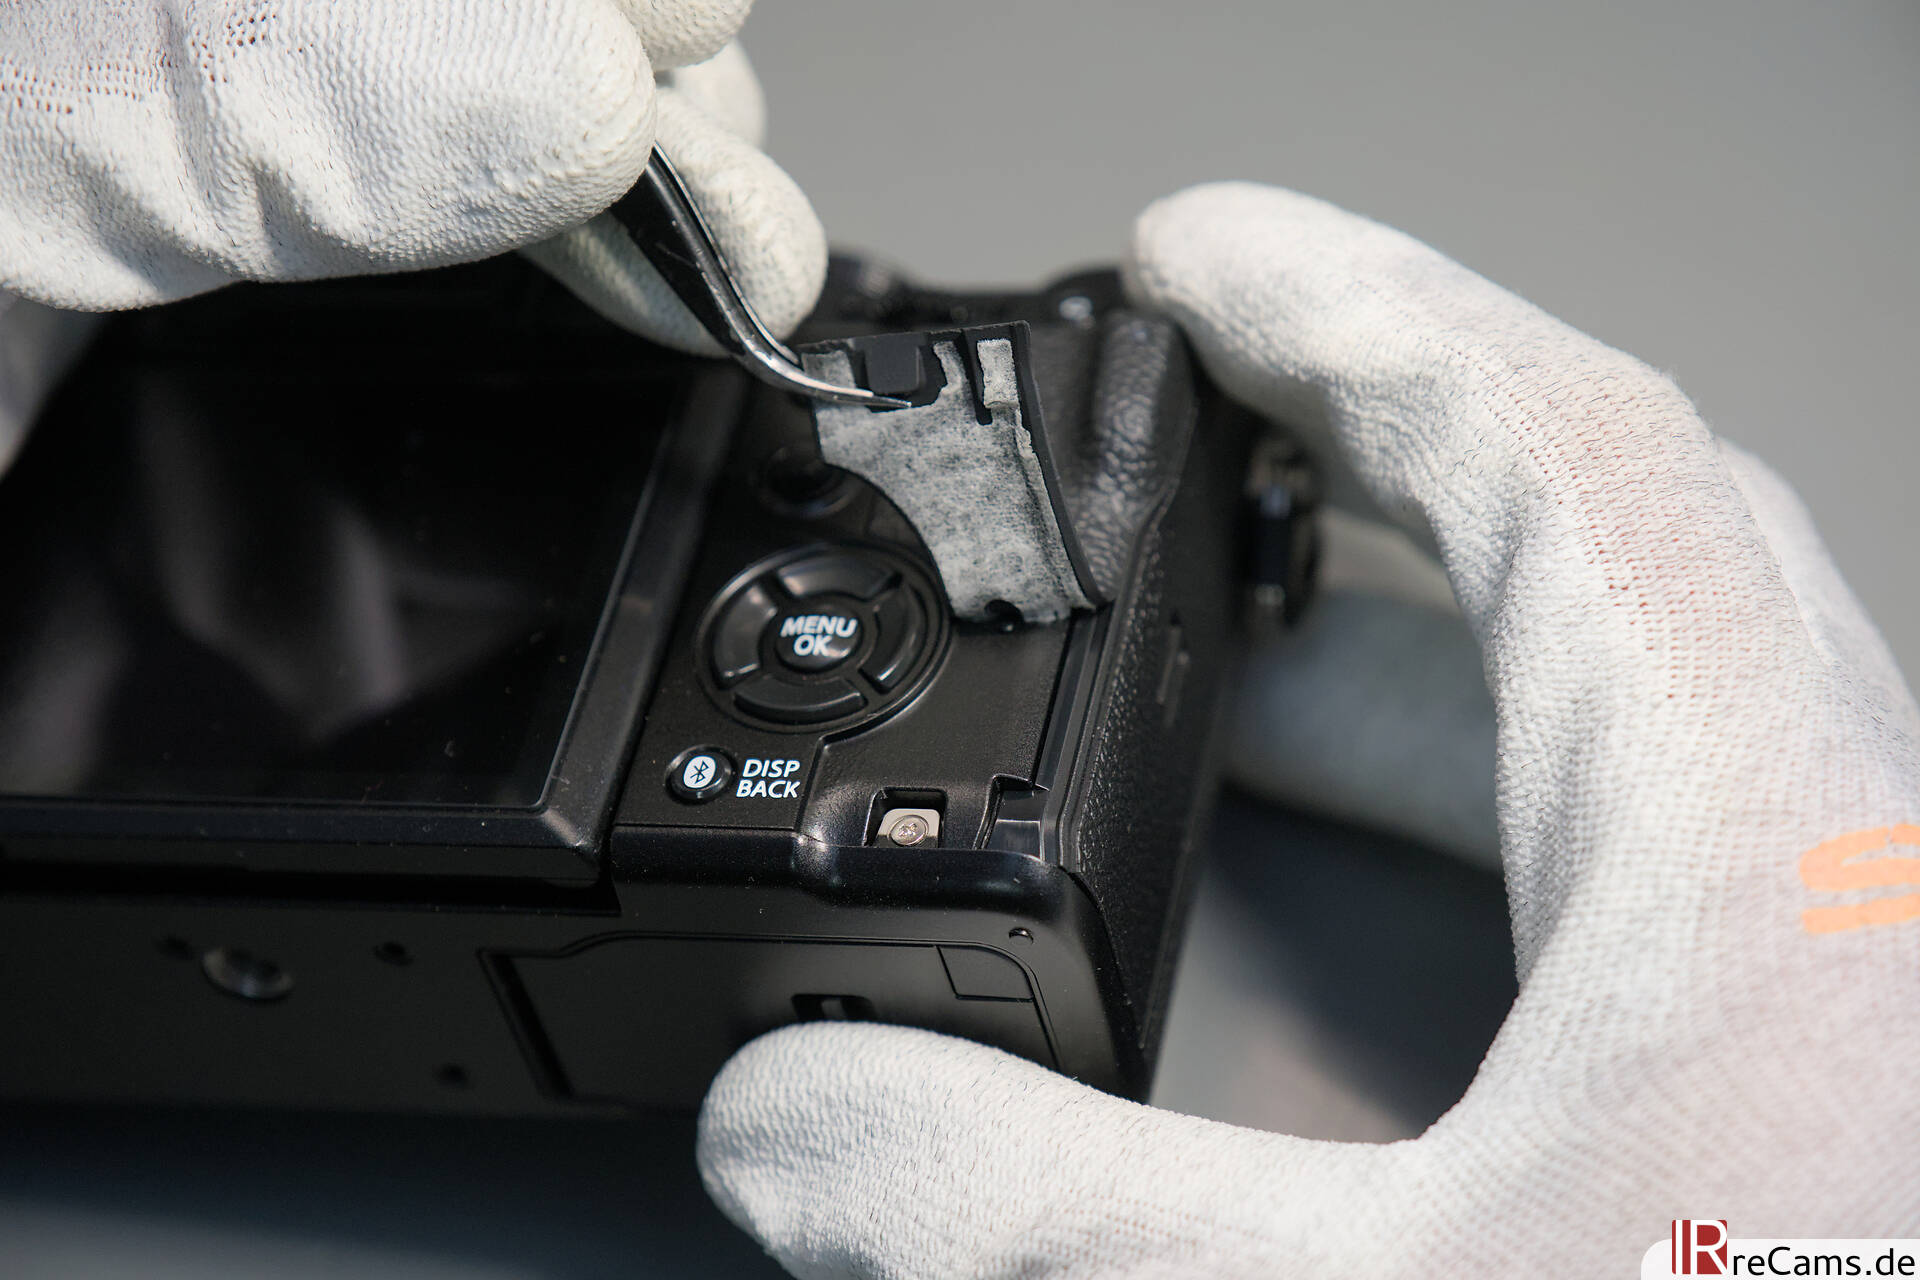
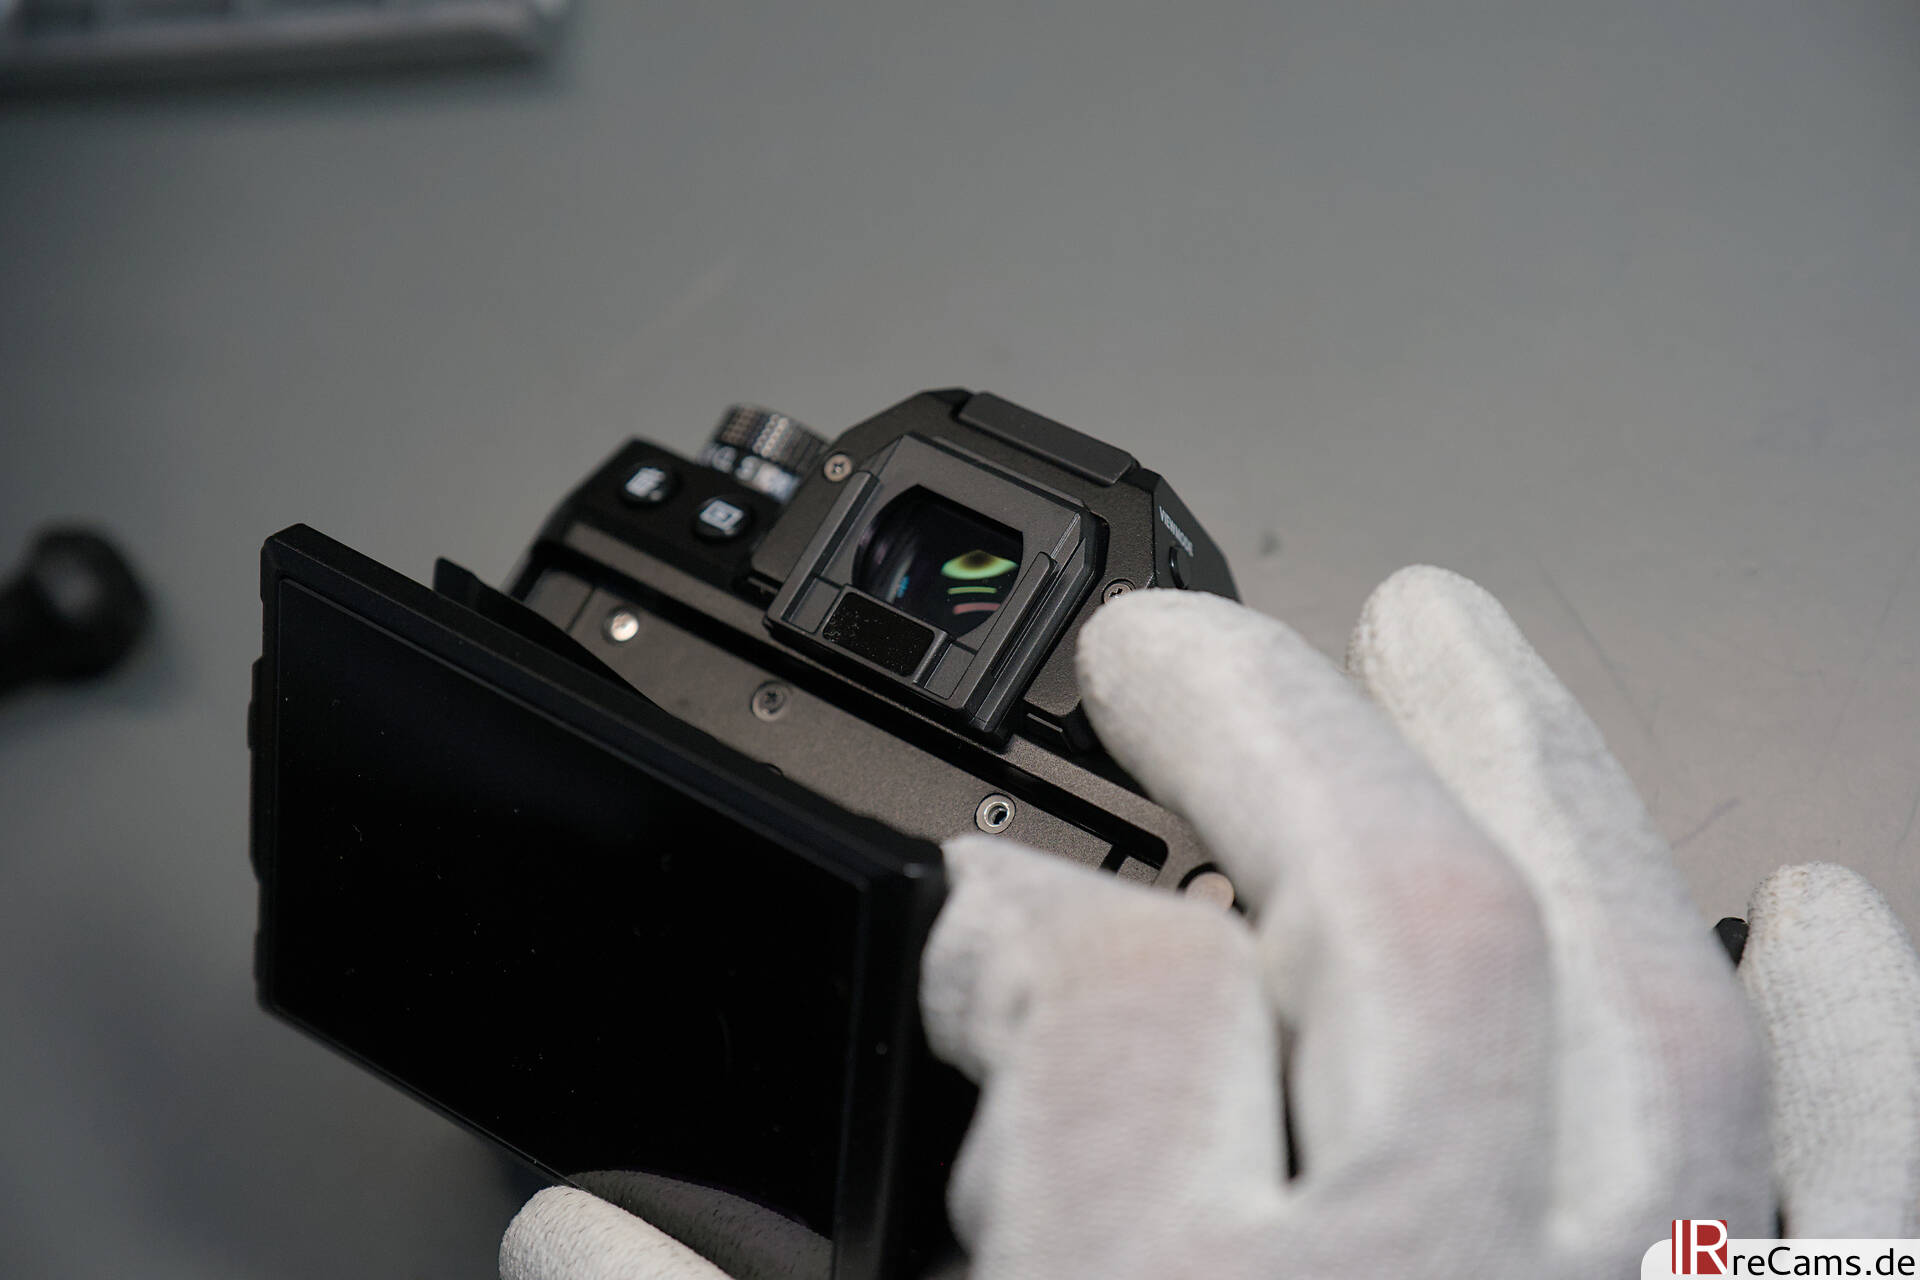
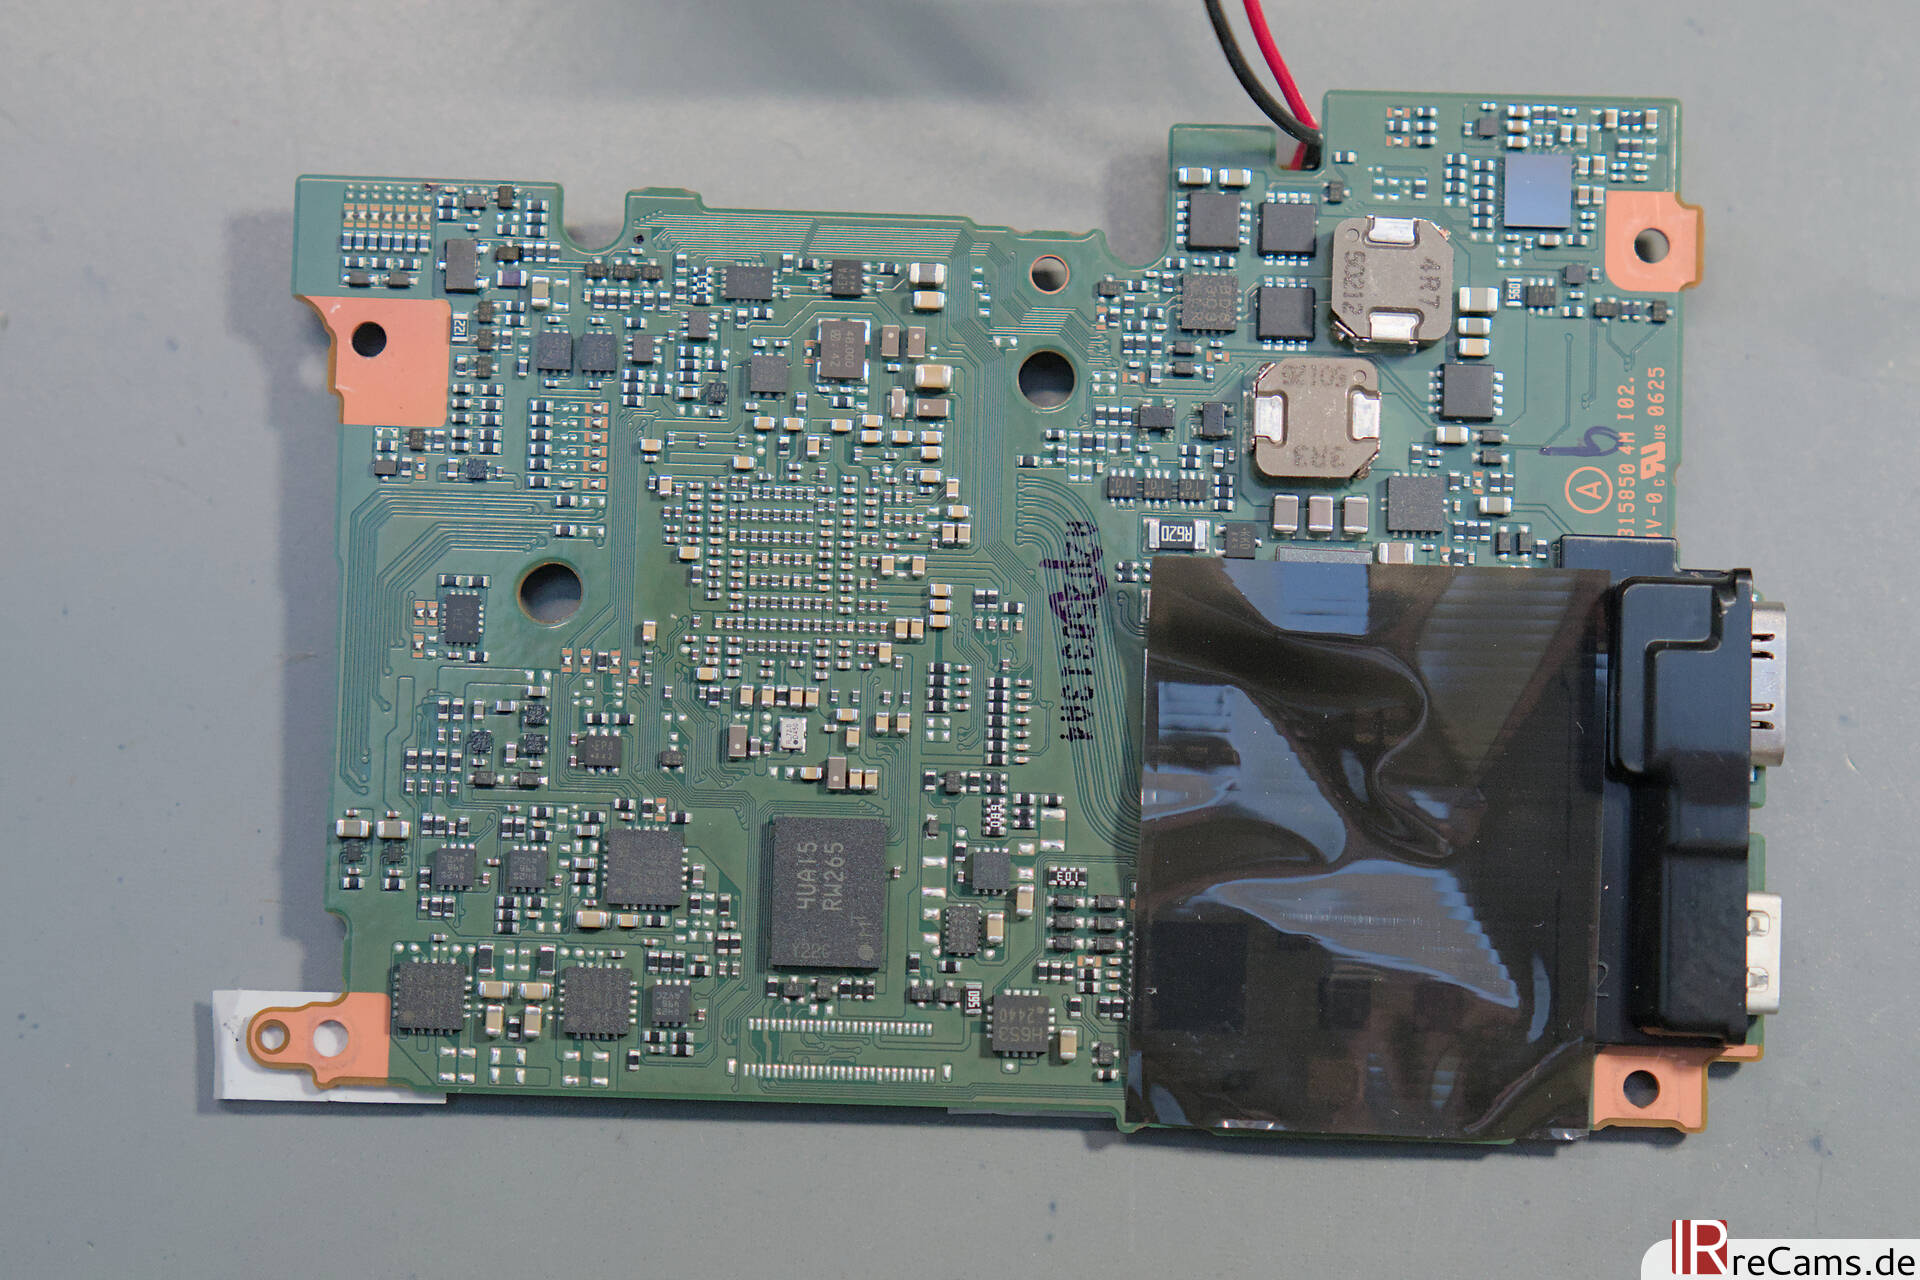
To be able to remove the display, three last screws under a sticker on the back need to be removed. Now the display can be removed and we can enjoy a clear view of the mainboard. After a few flat cables have been disconnected, the upper part of the housing can also be removed. What is noticeable here is that the design of the housing parts feels lighter compared to a X-H2 or X-T4. It's difficult to photograph, but you can feel it in your hand. Fujifilm has managed to save a few grams and bring a high-quality, compact camera onto the market.
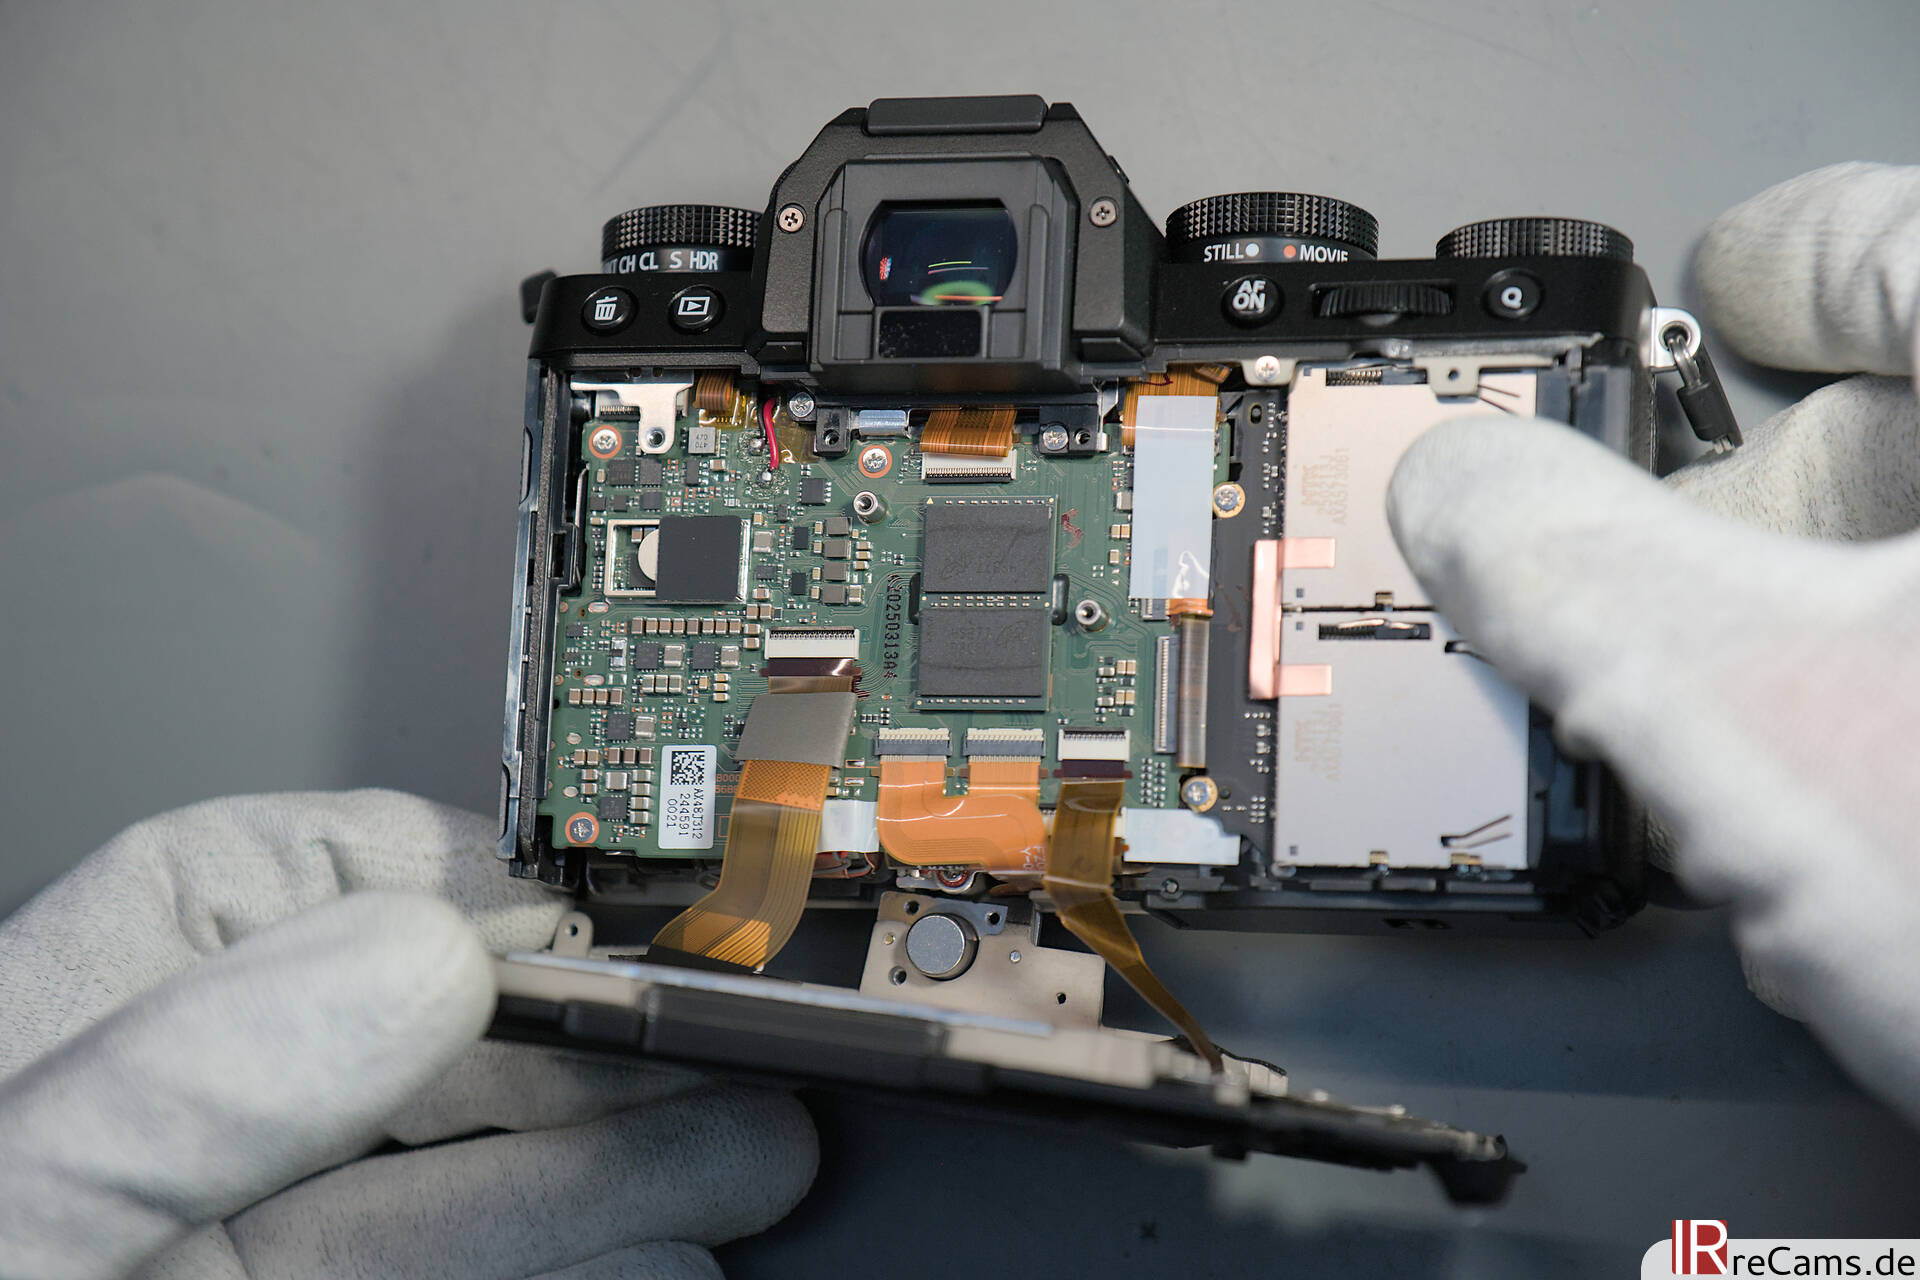
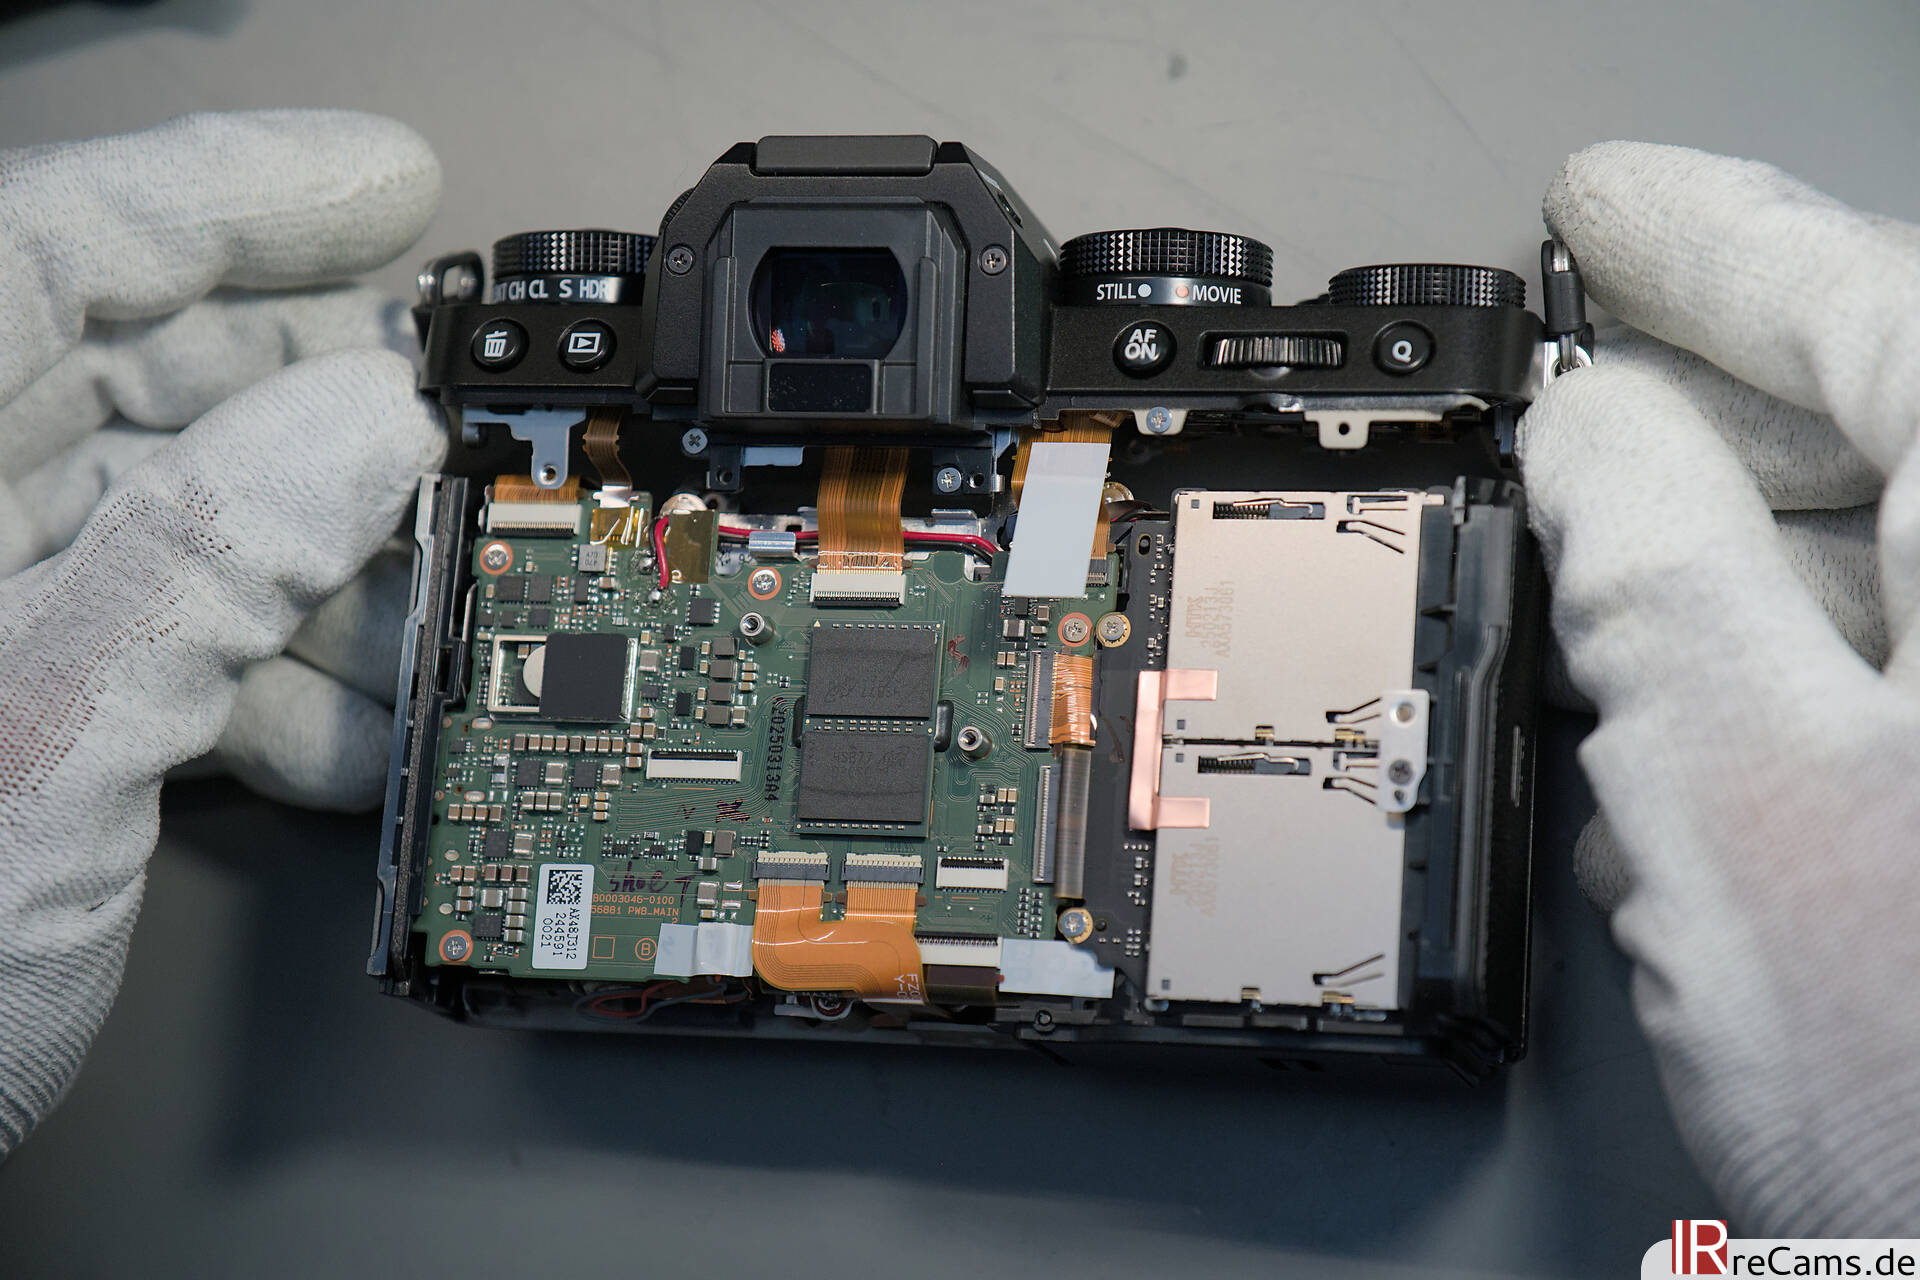
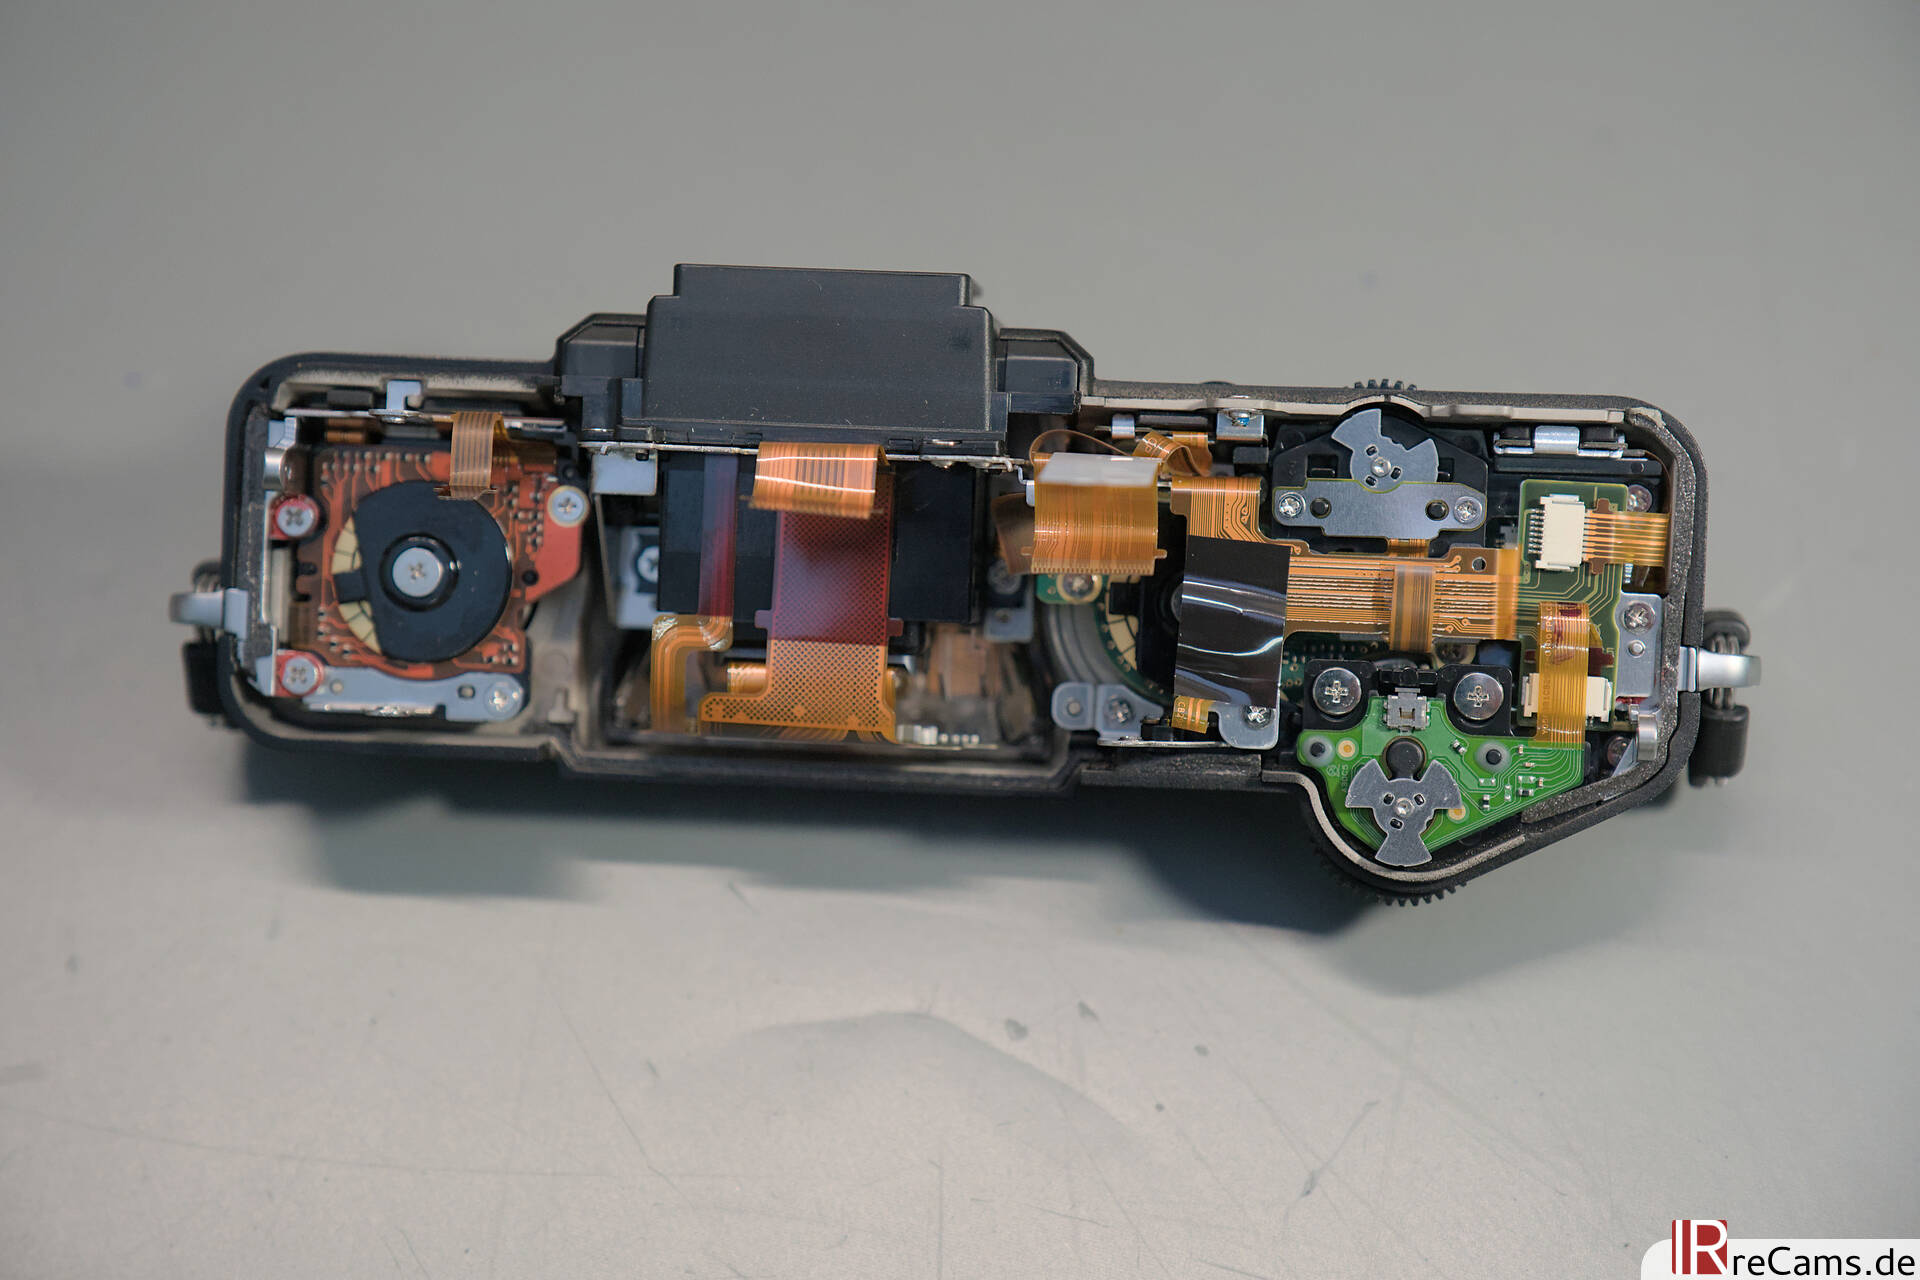
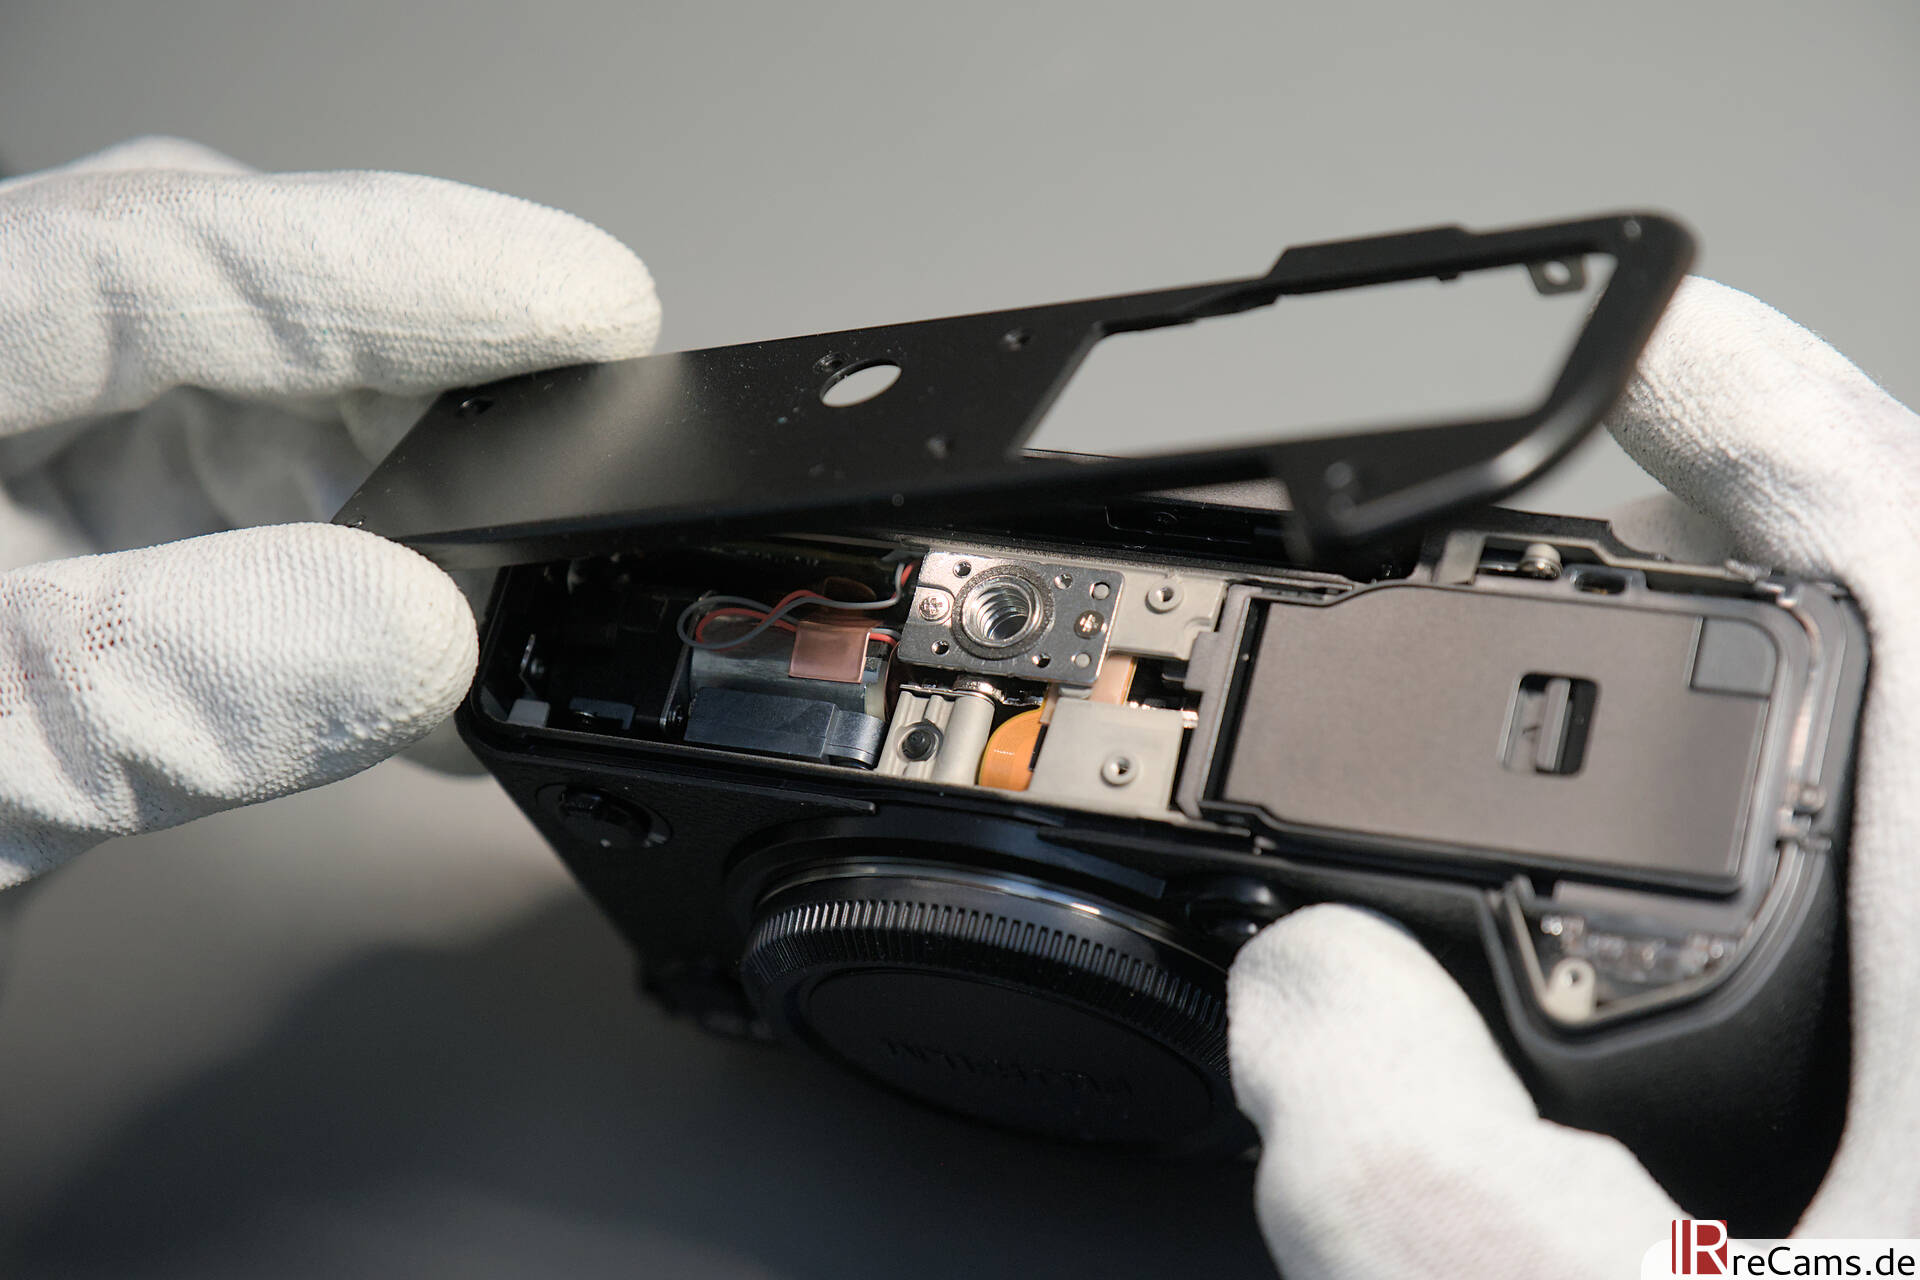
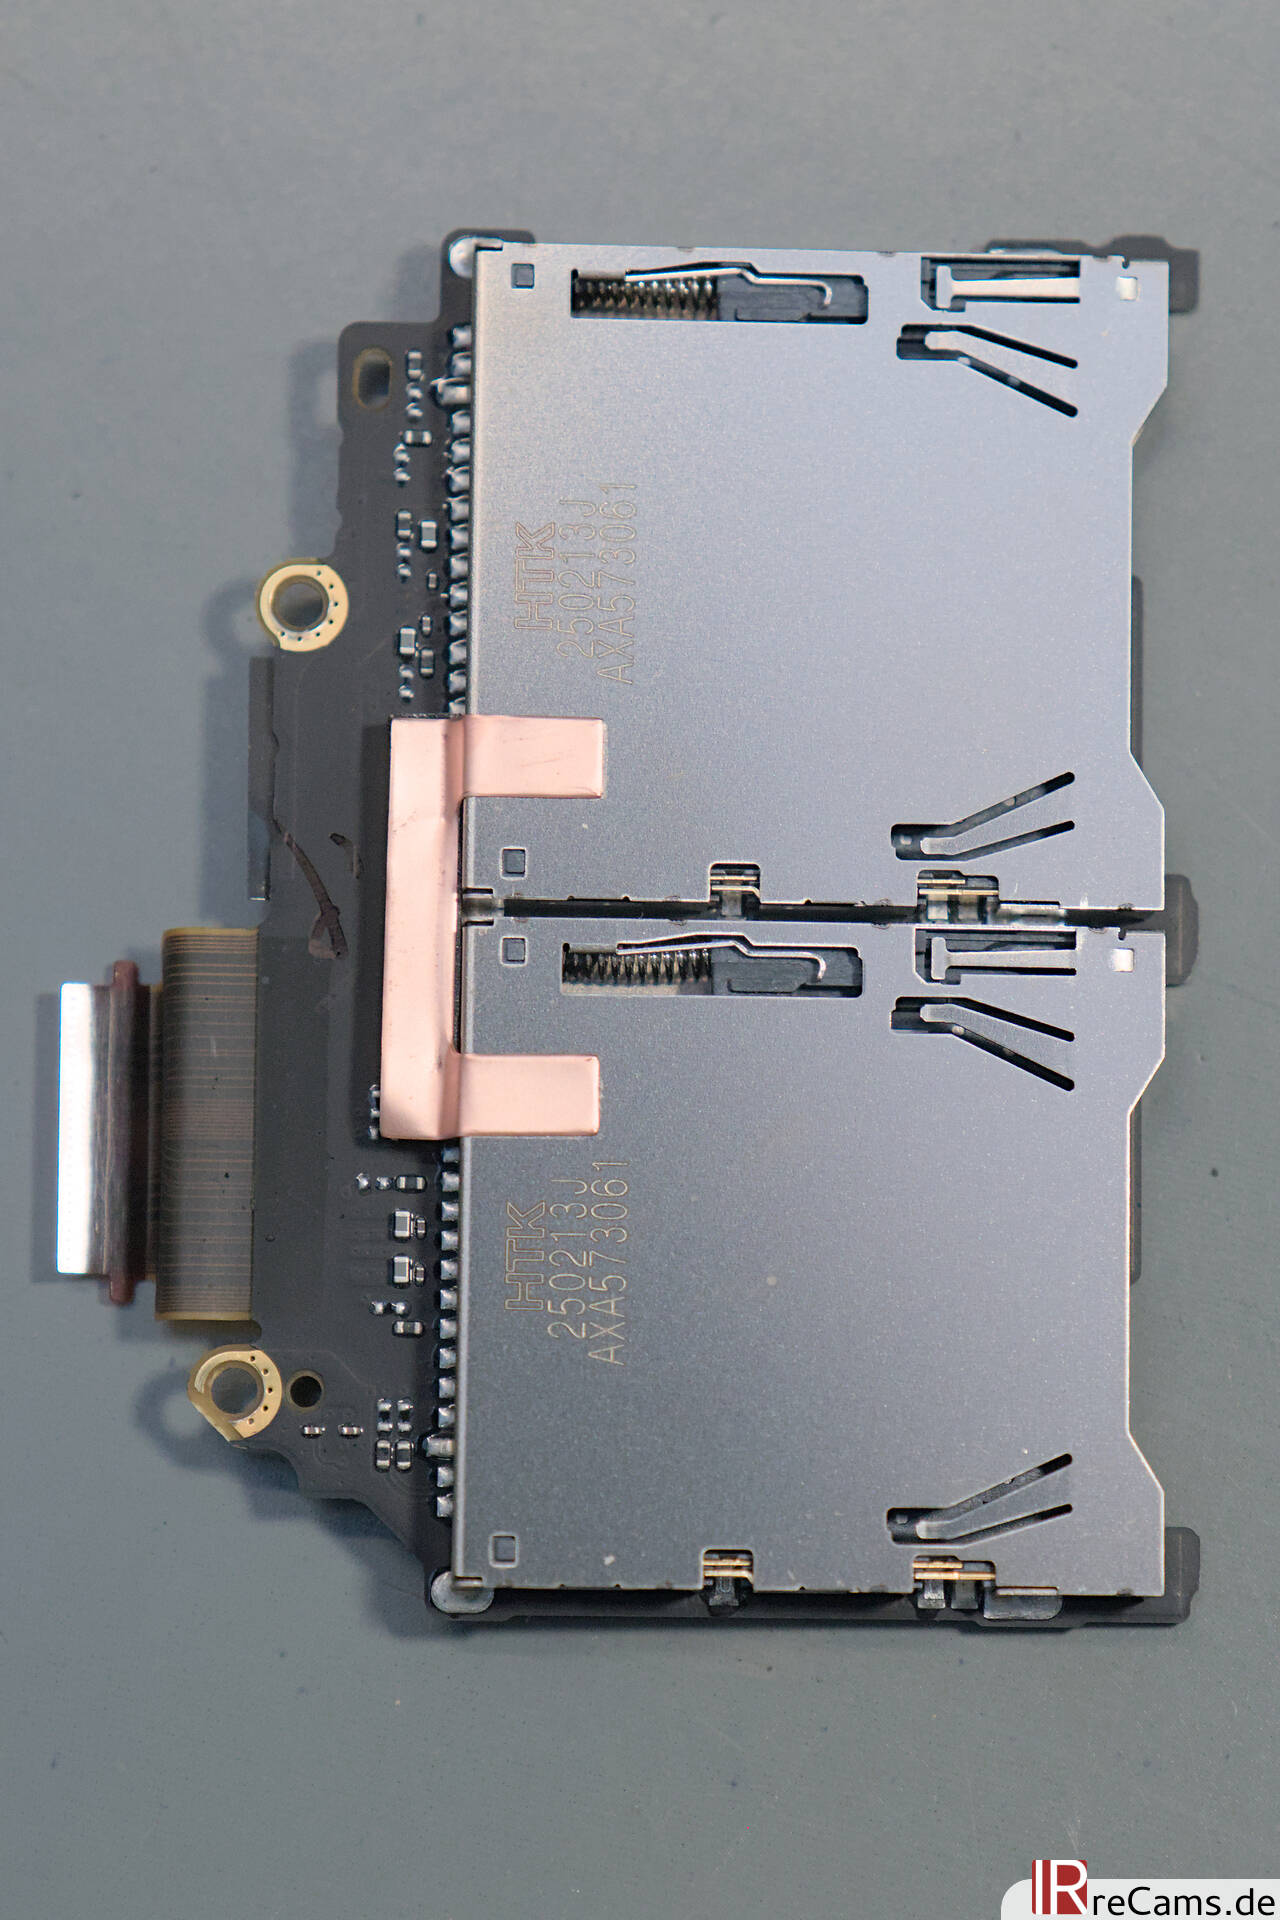
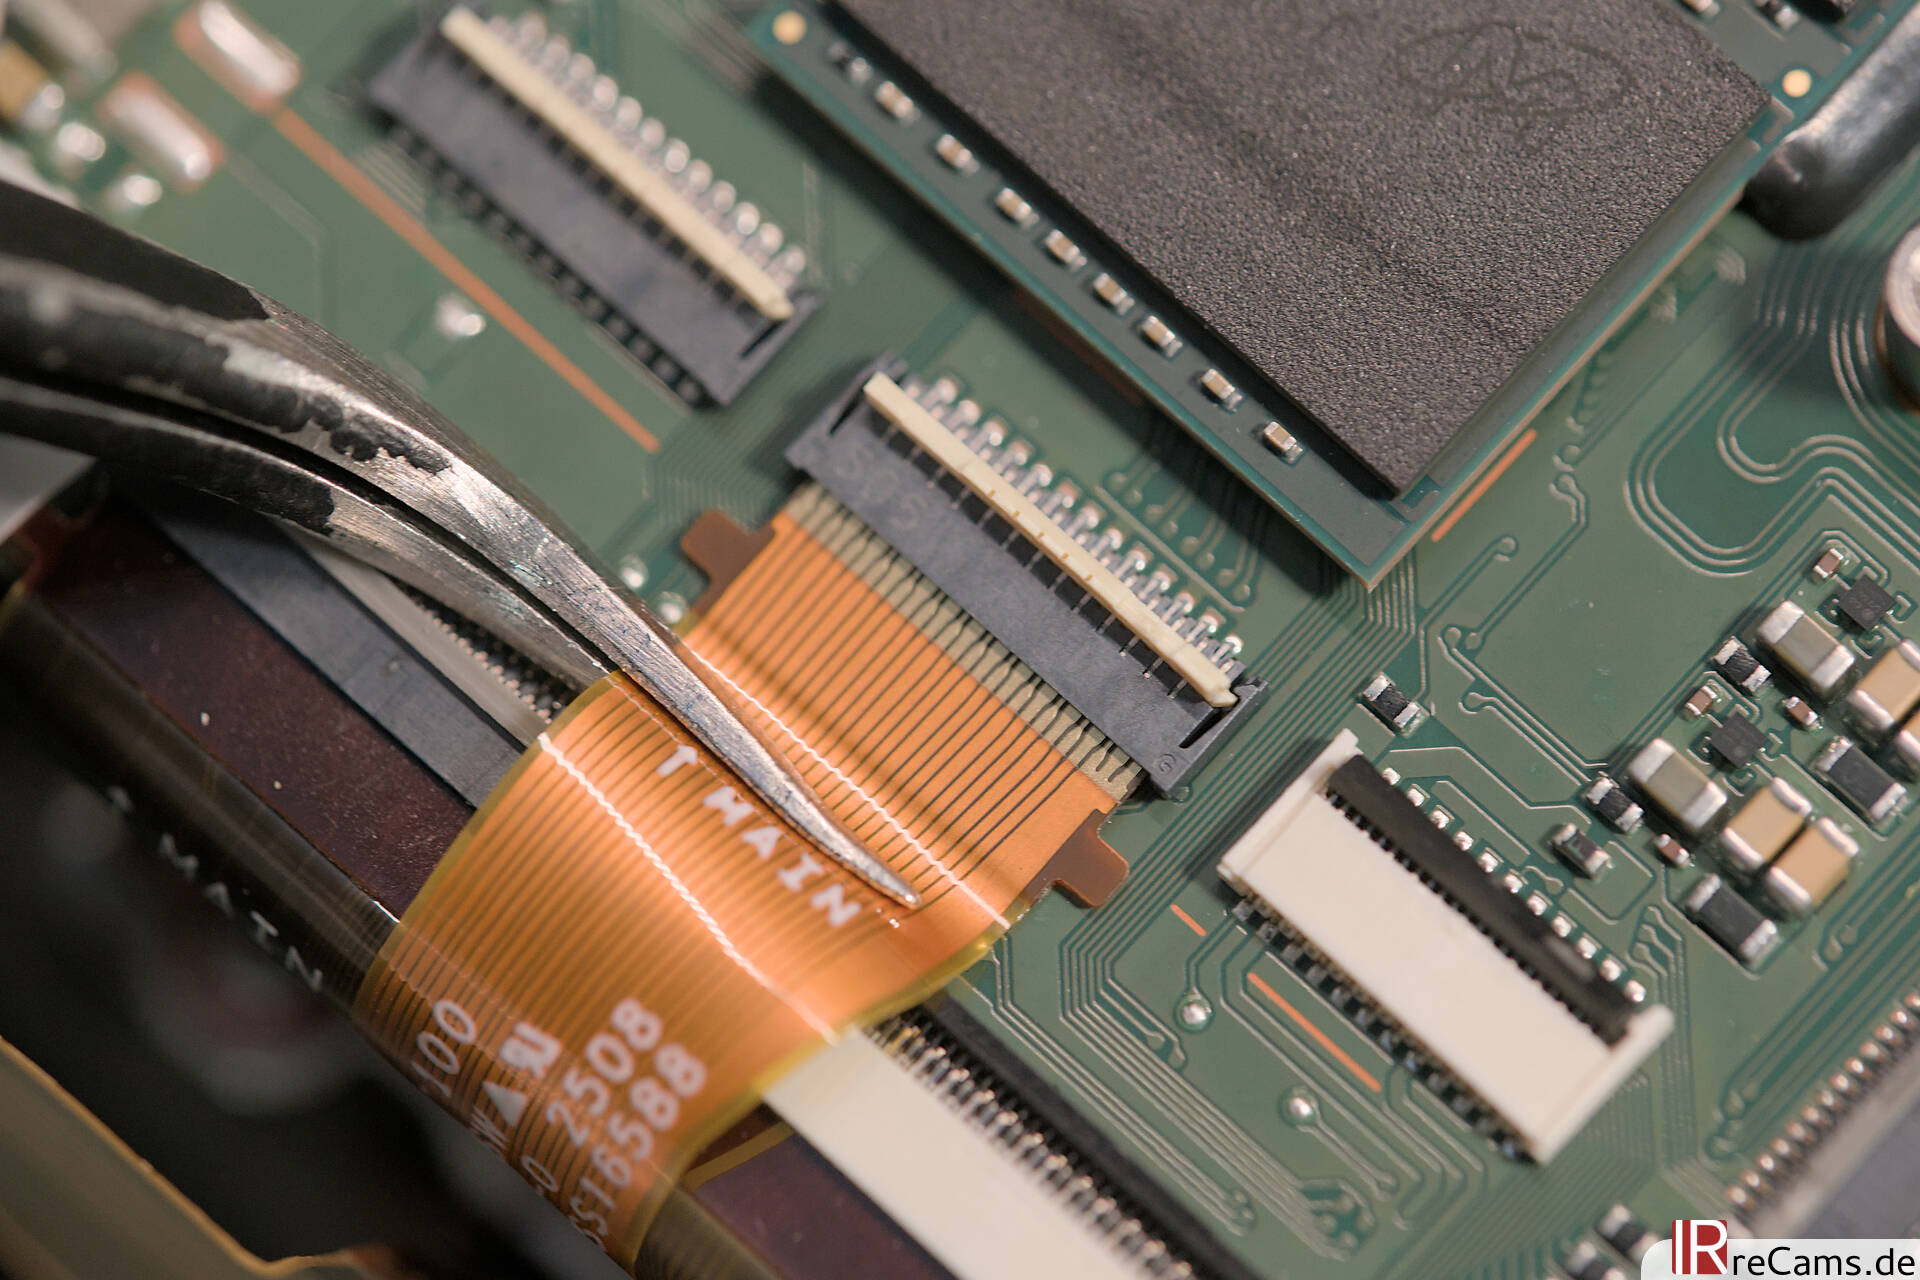
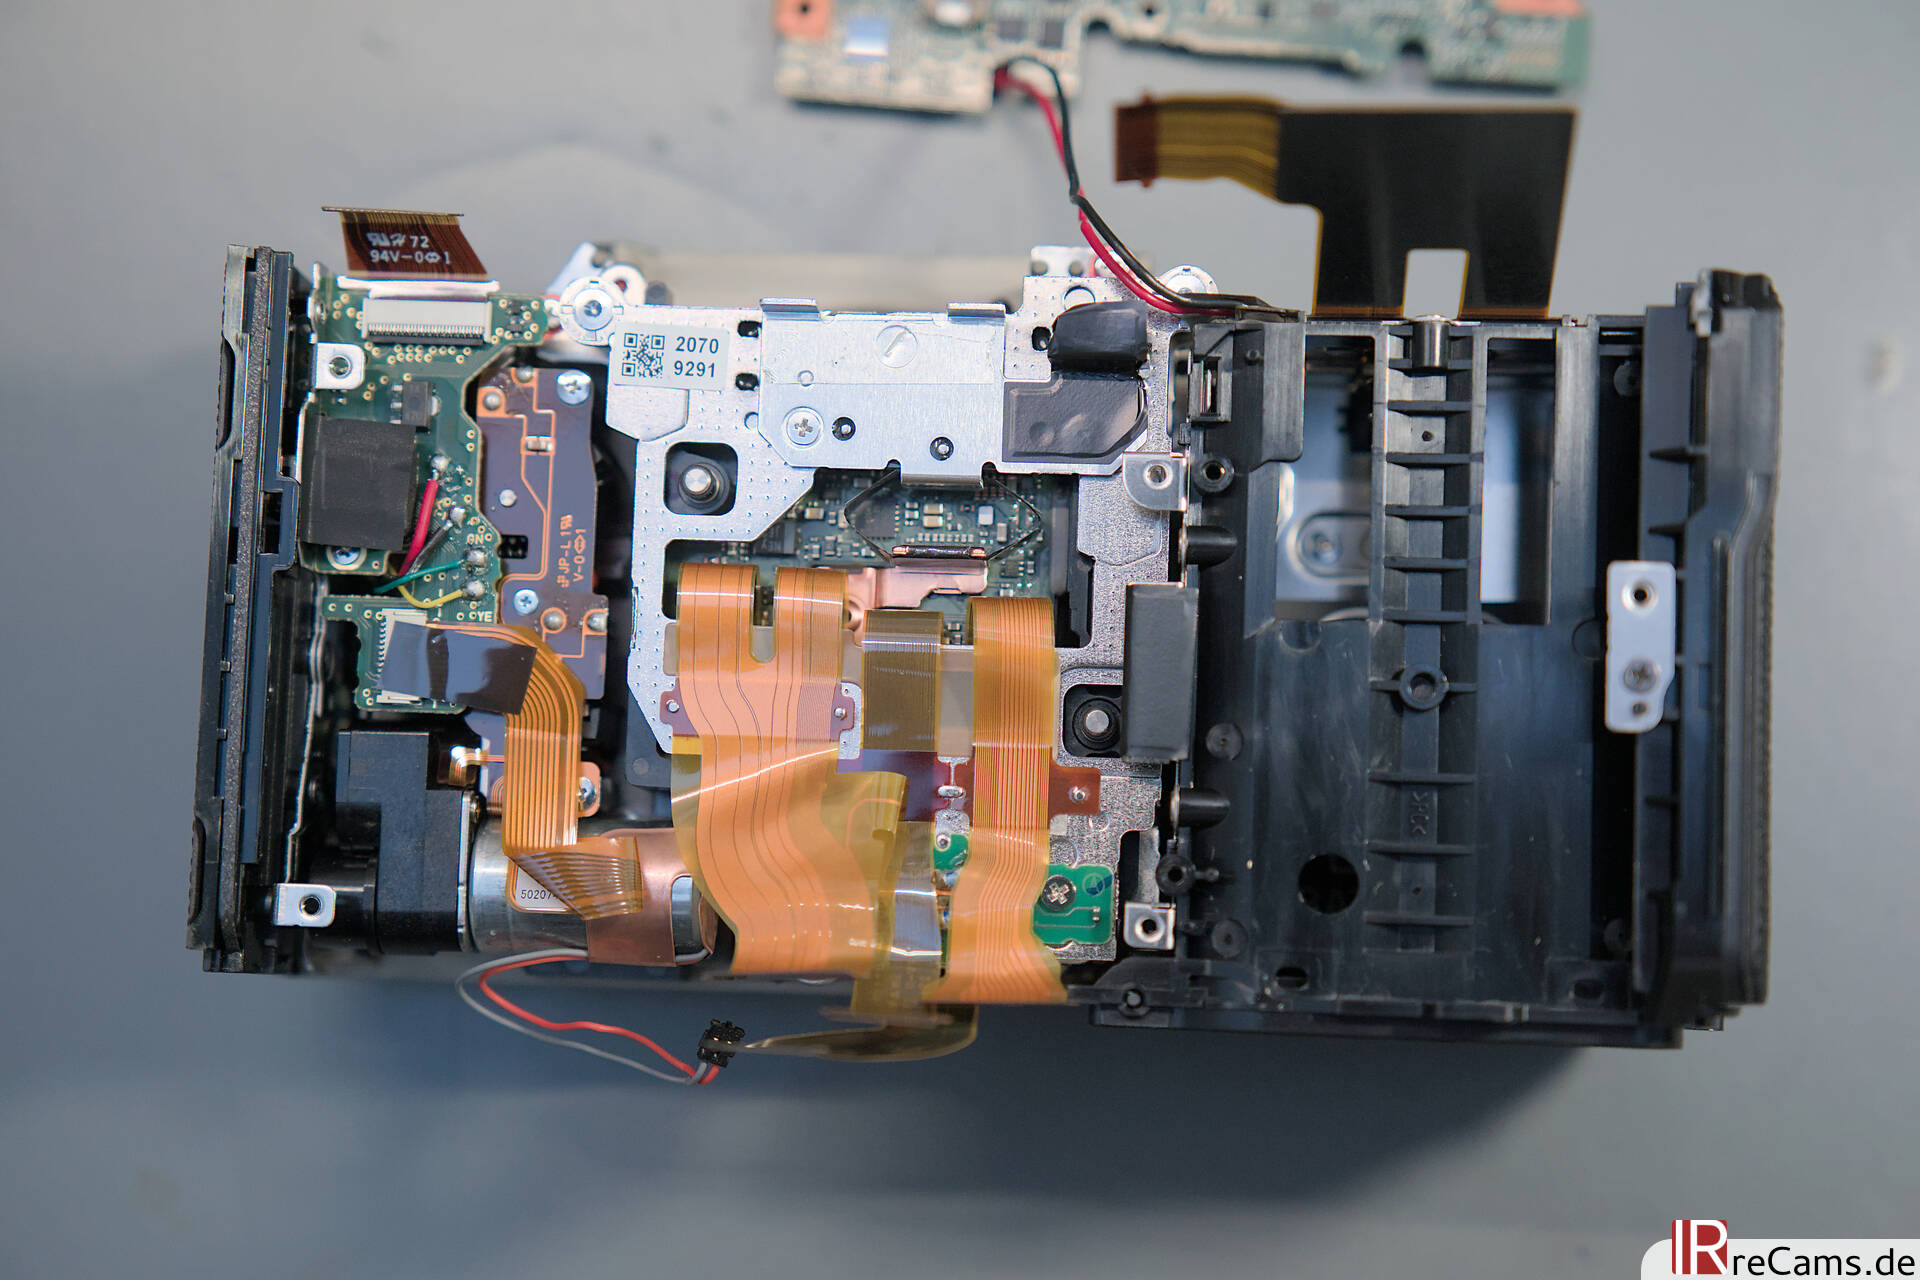
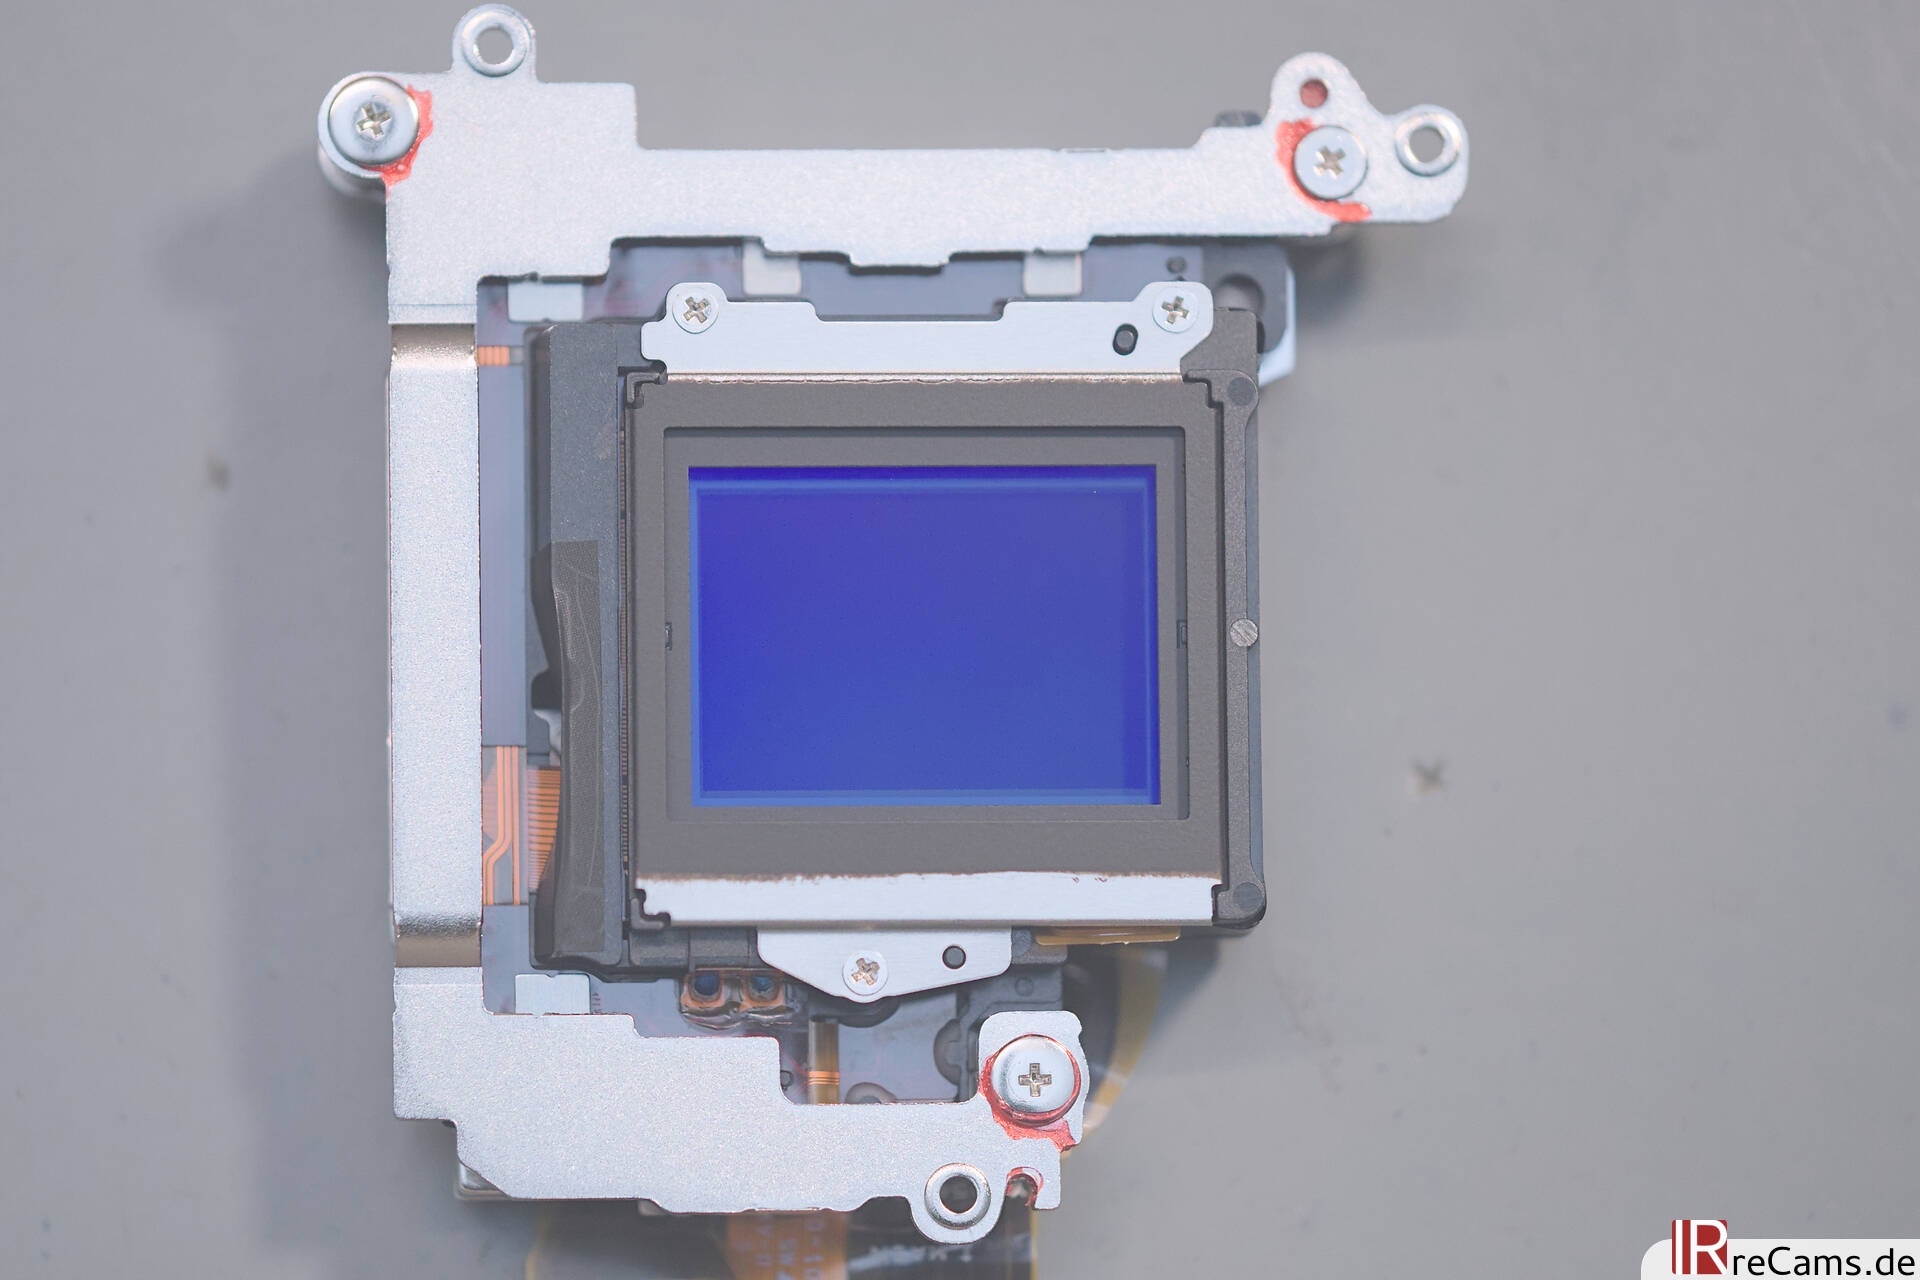
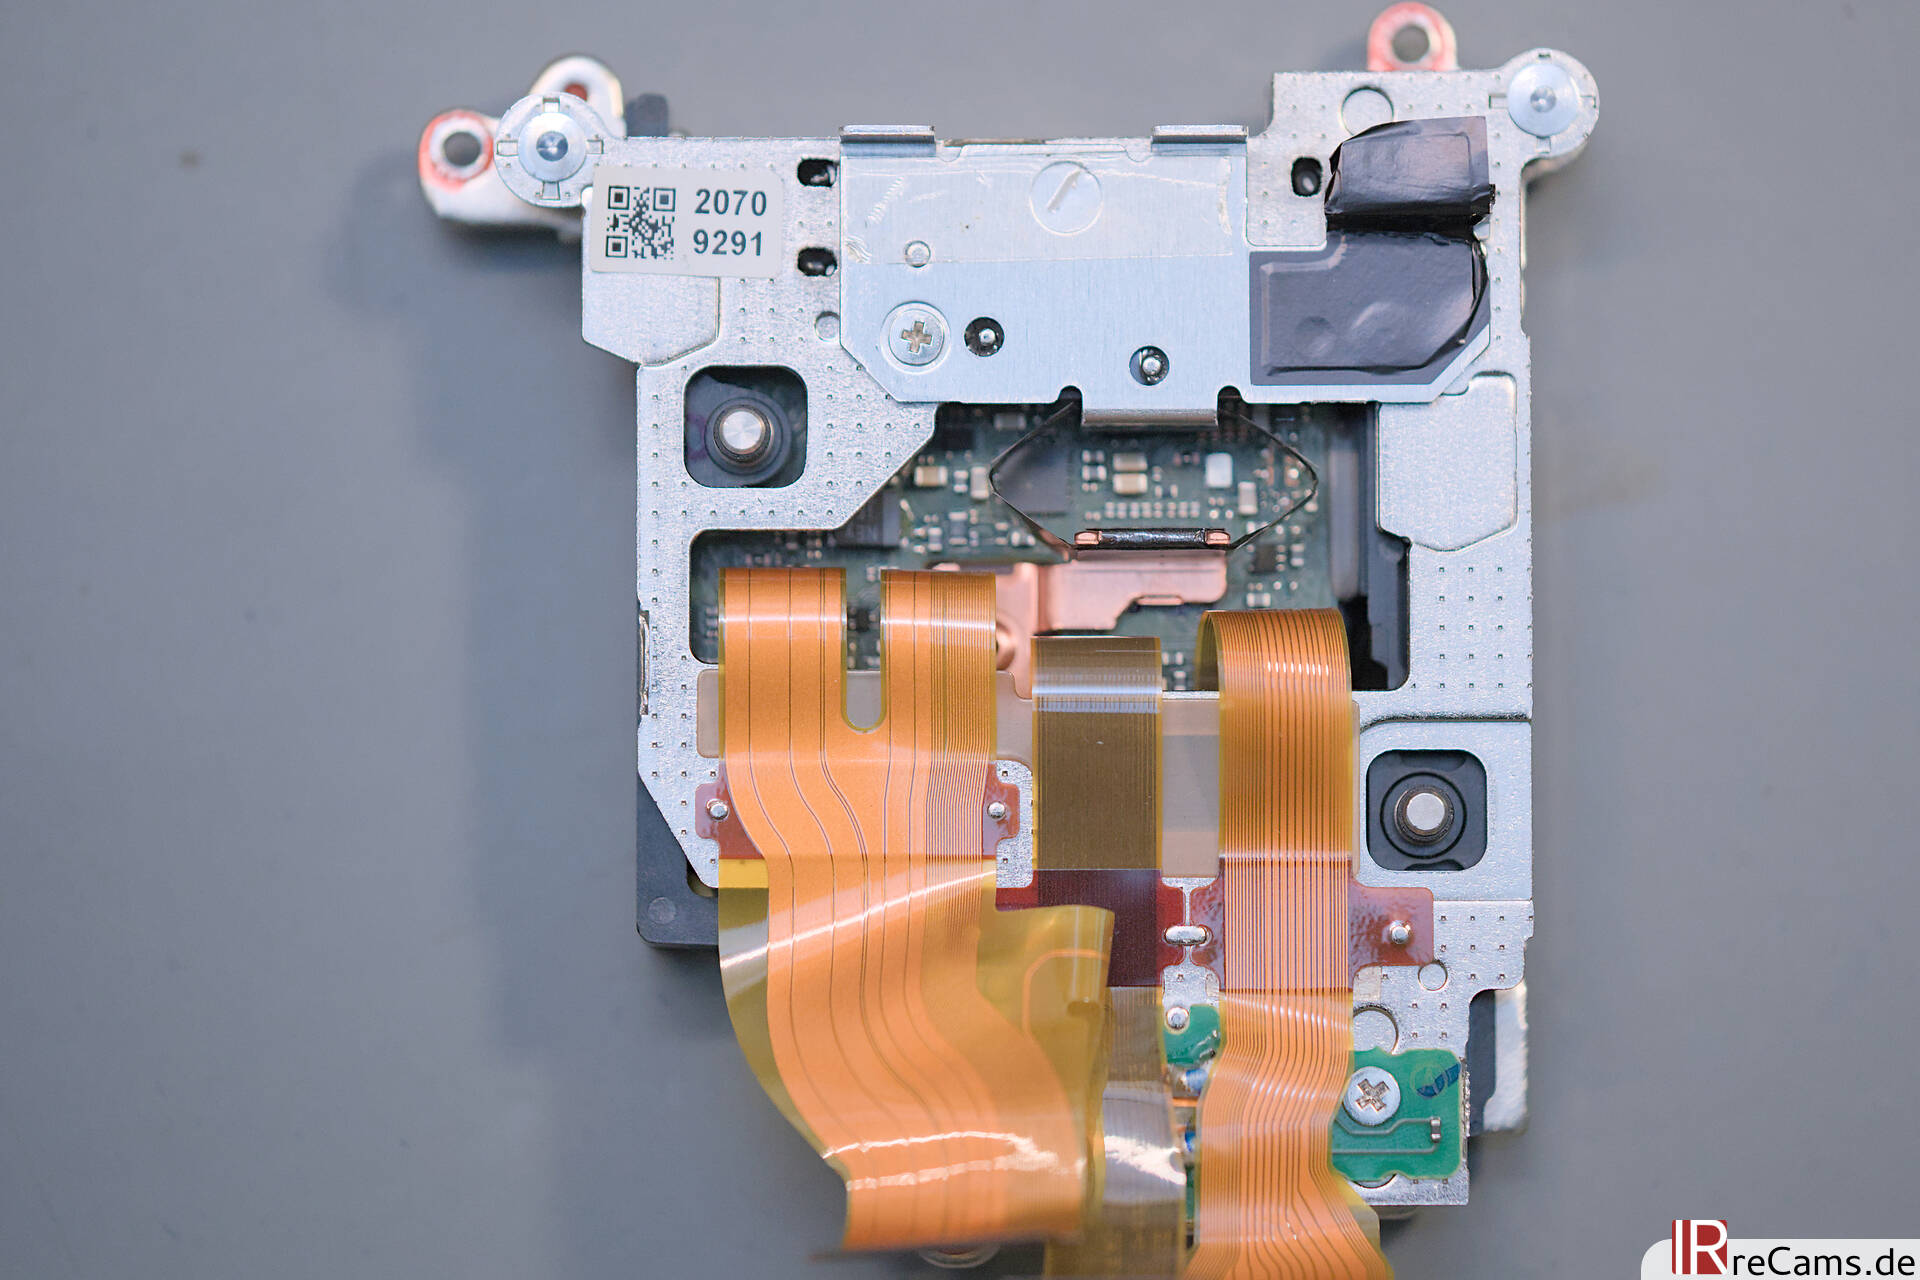
Now one can remove the dual SD board on the right-hand side and disconnect the remaining flat cables on the mainboard. After a few screws, you can fold the main board upwards relatively easily and have a first look at the IBIS unit with the sensor.
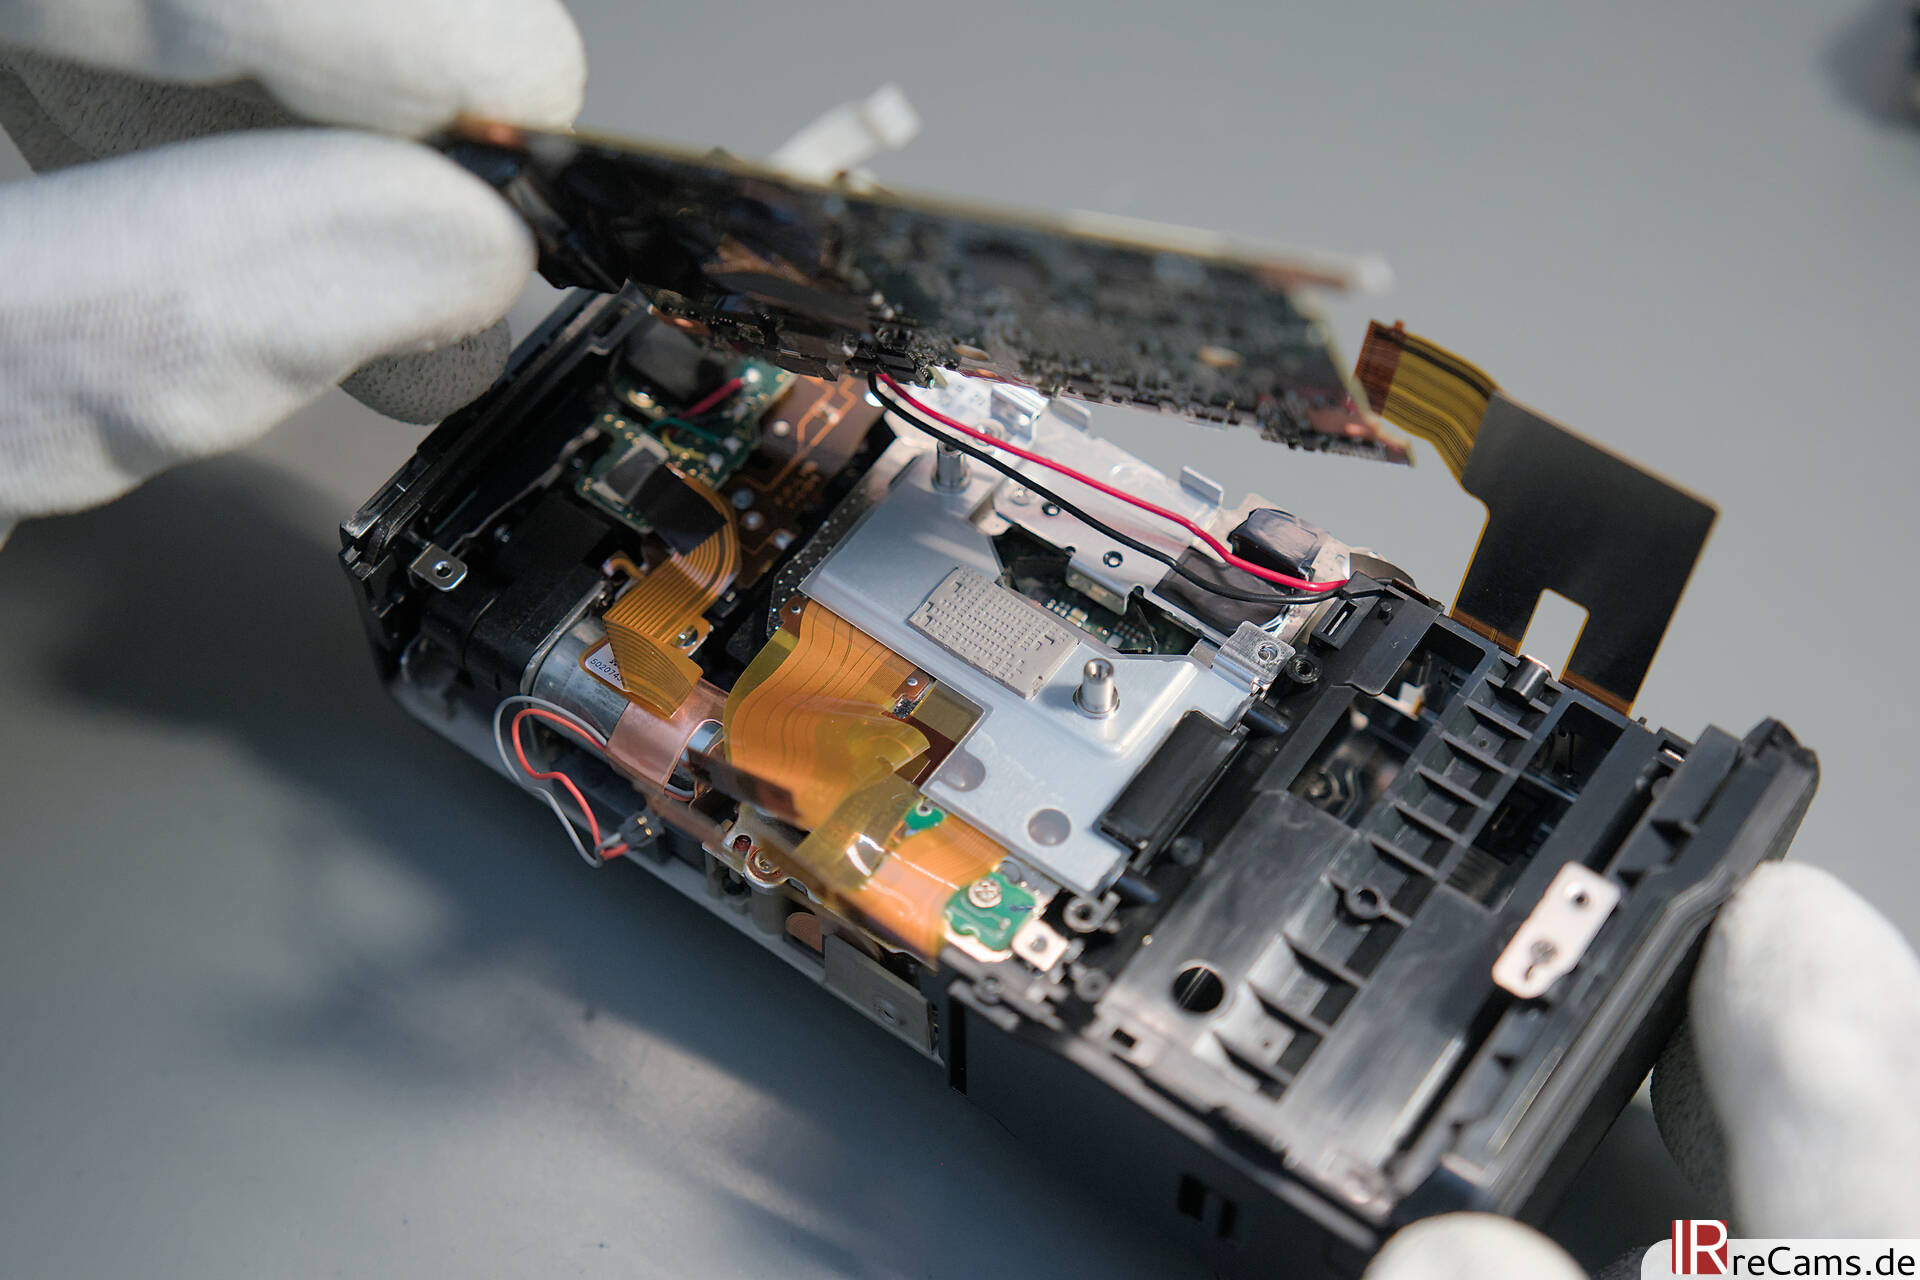
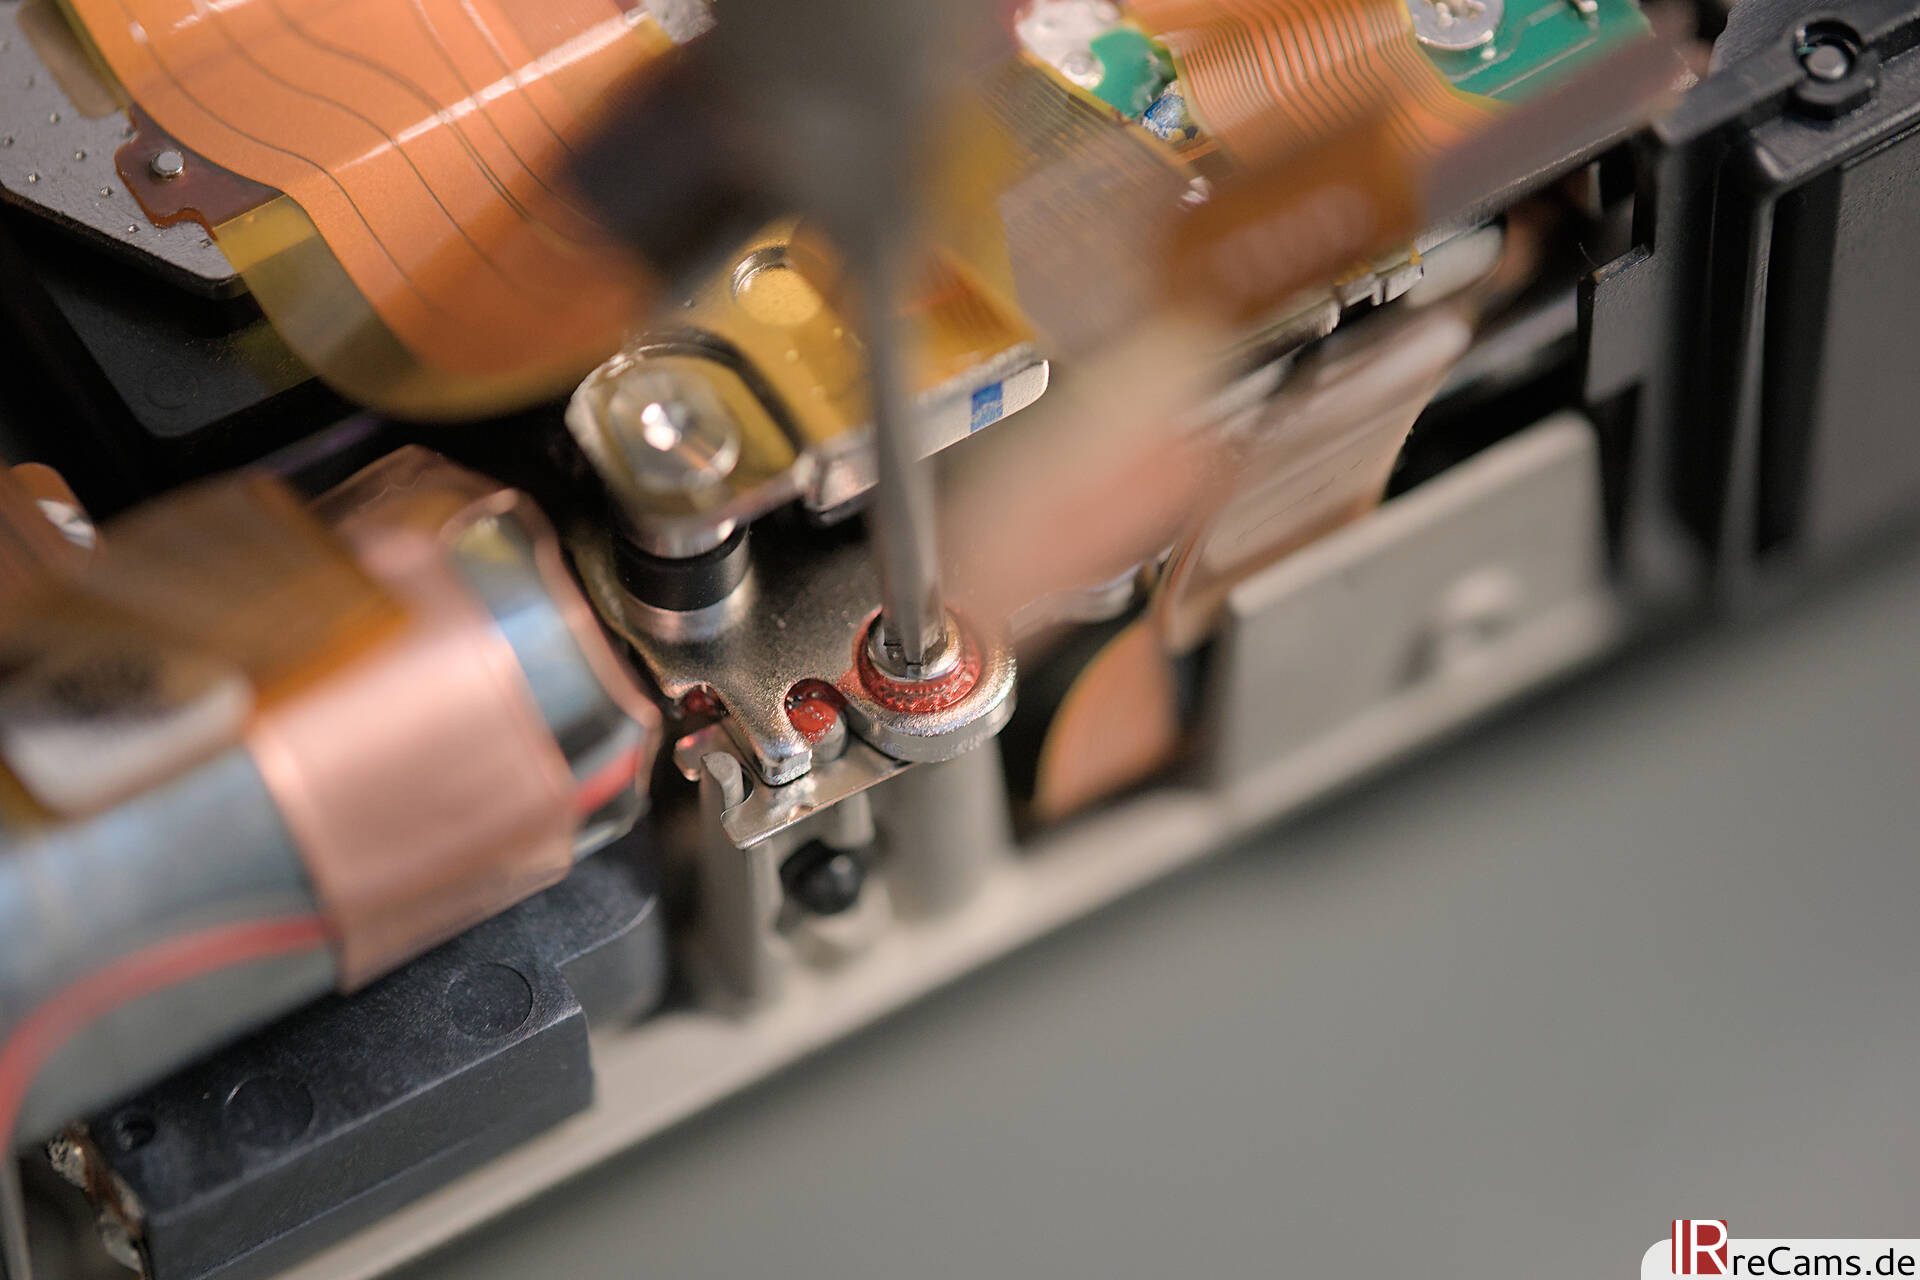
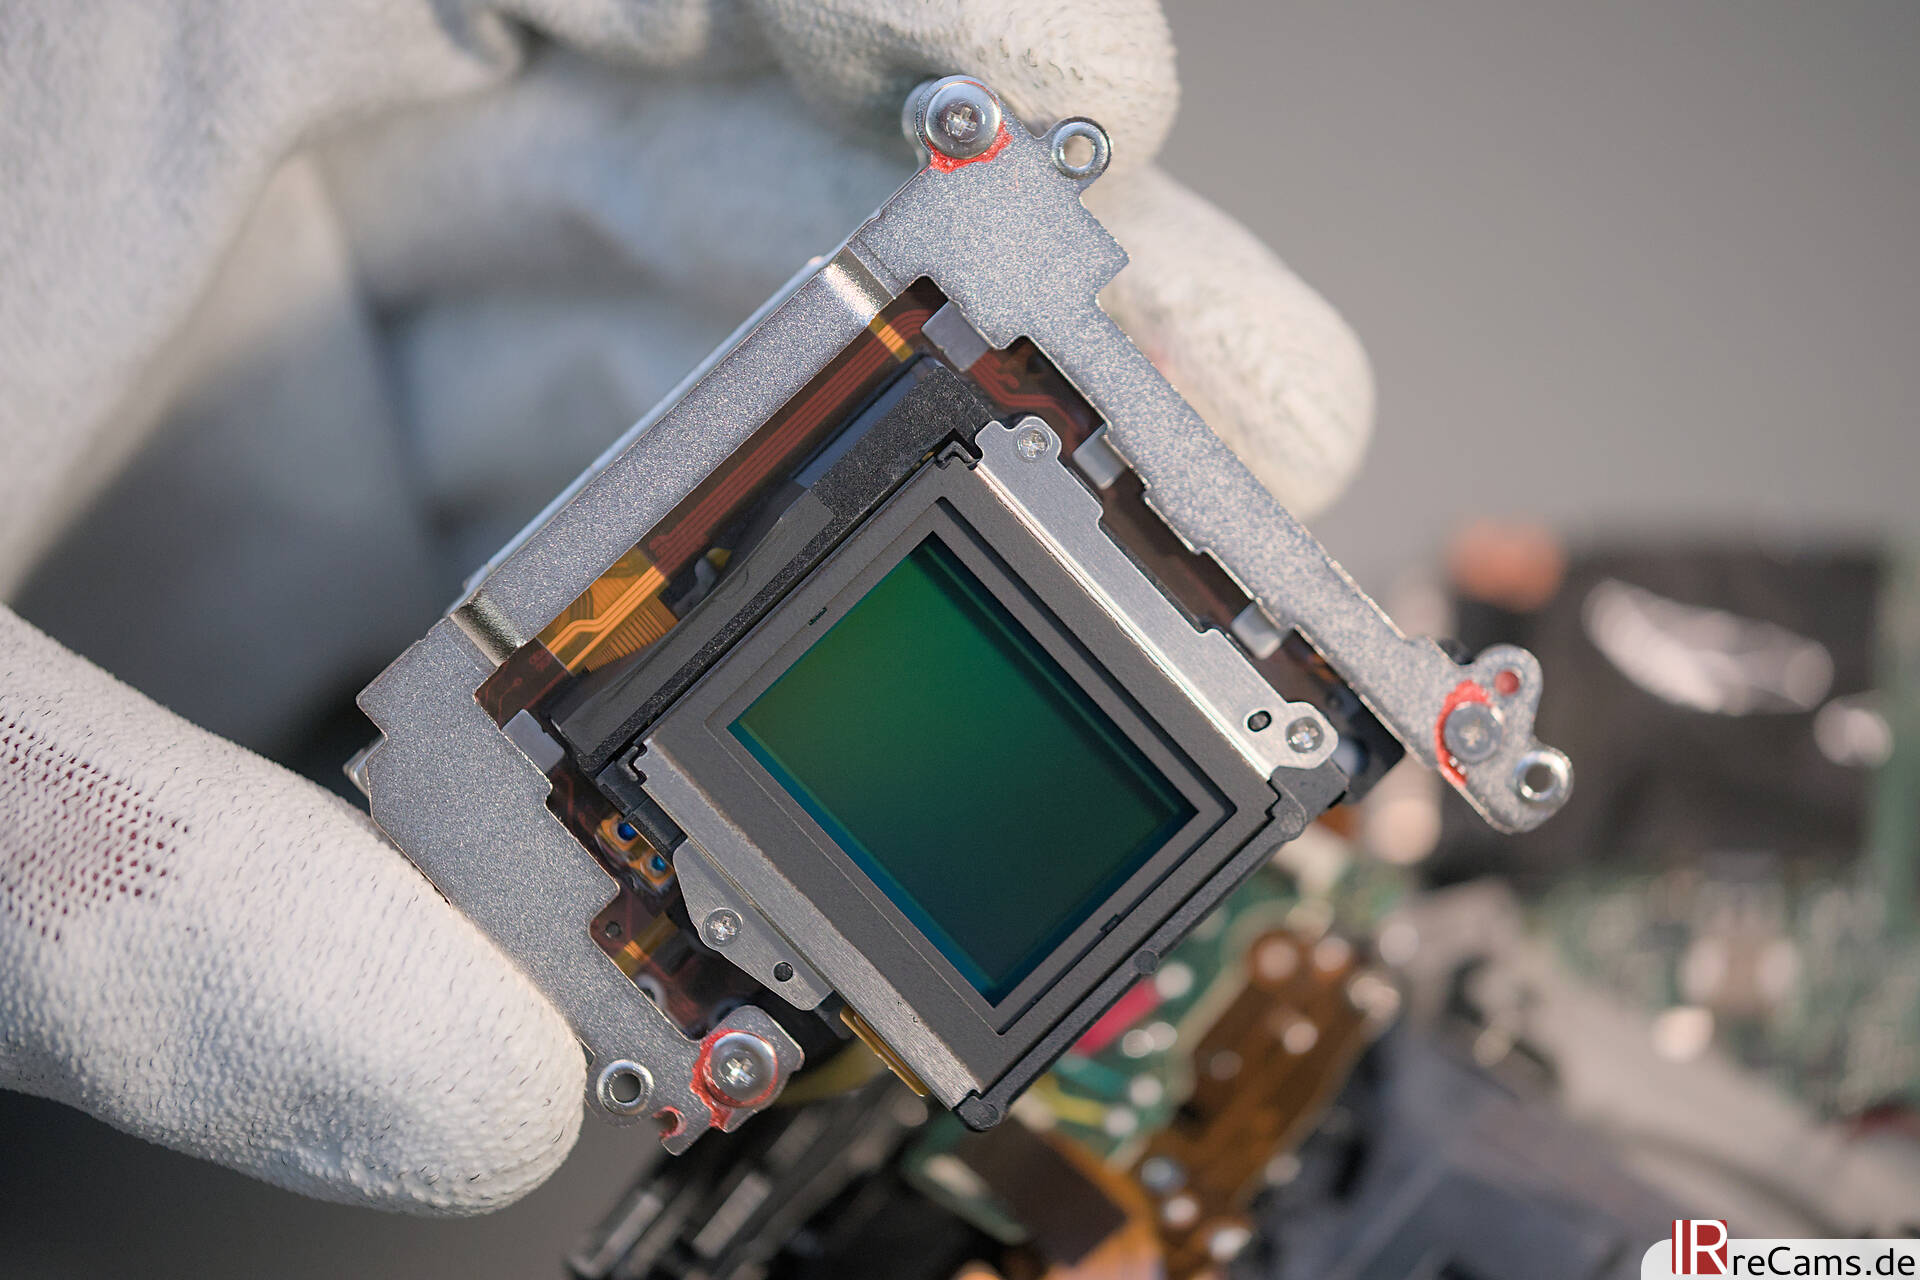
The sensor is installed in a frame, which is guided by strong permamagnets in a solid metal chassis. There are several copper coils - i.e. controllable electromagnets - to ensure that the sensor can move within this structure. The targeted control of the electromagnets allows the sensor to be moved and positioned extremely precisely in 5 axes. According to Fujifilm, the sensor stabilization not only compensates for up to 7 f-stops, it can also position the sensor with pixel precision for "Multi Shift Pixel Shooting".
These features are already available from the X-H2 but what is new is the compact design of the sensor unit. Since the first sensor-based image stabilization in the X-H1, Fujifilm has gradually made the sensor module smaller and lighter. The module in the X-T5 is the most compact we have ever seen in a Fujifilm camera - and the design on the data sheet shows no disadvantages compared to the slightly larger module in the X-H2. Similar to the sensor of the X-H2, the X-T5 also has a few precautions to dissipate the heat from the sensor towards the housing, but these are not quite as extensive as on the X-H2 (after all, the X-H2 still has to keep a cool head even when recording 8K video).
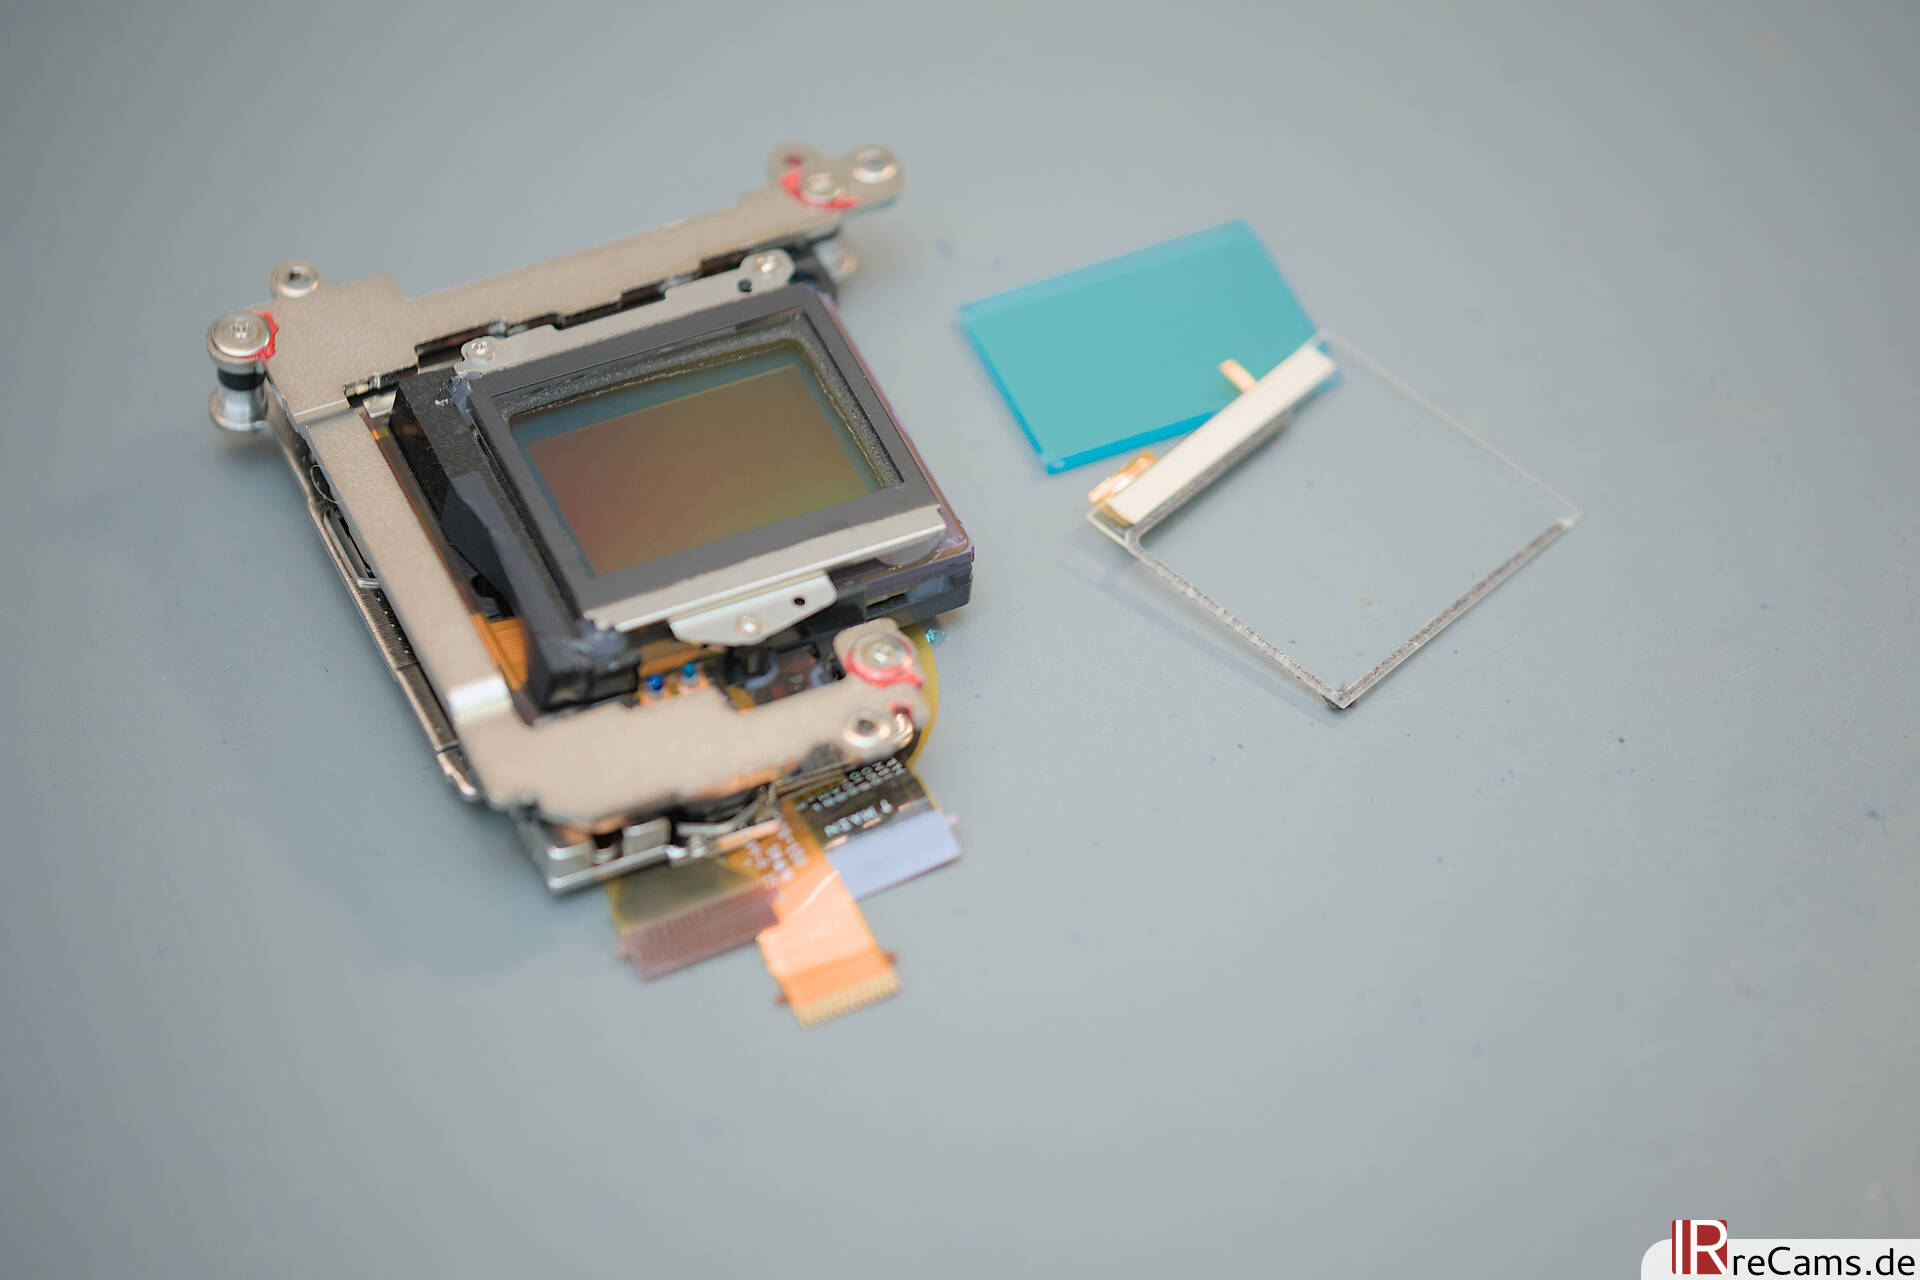
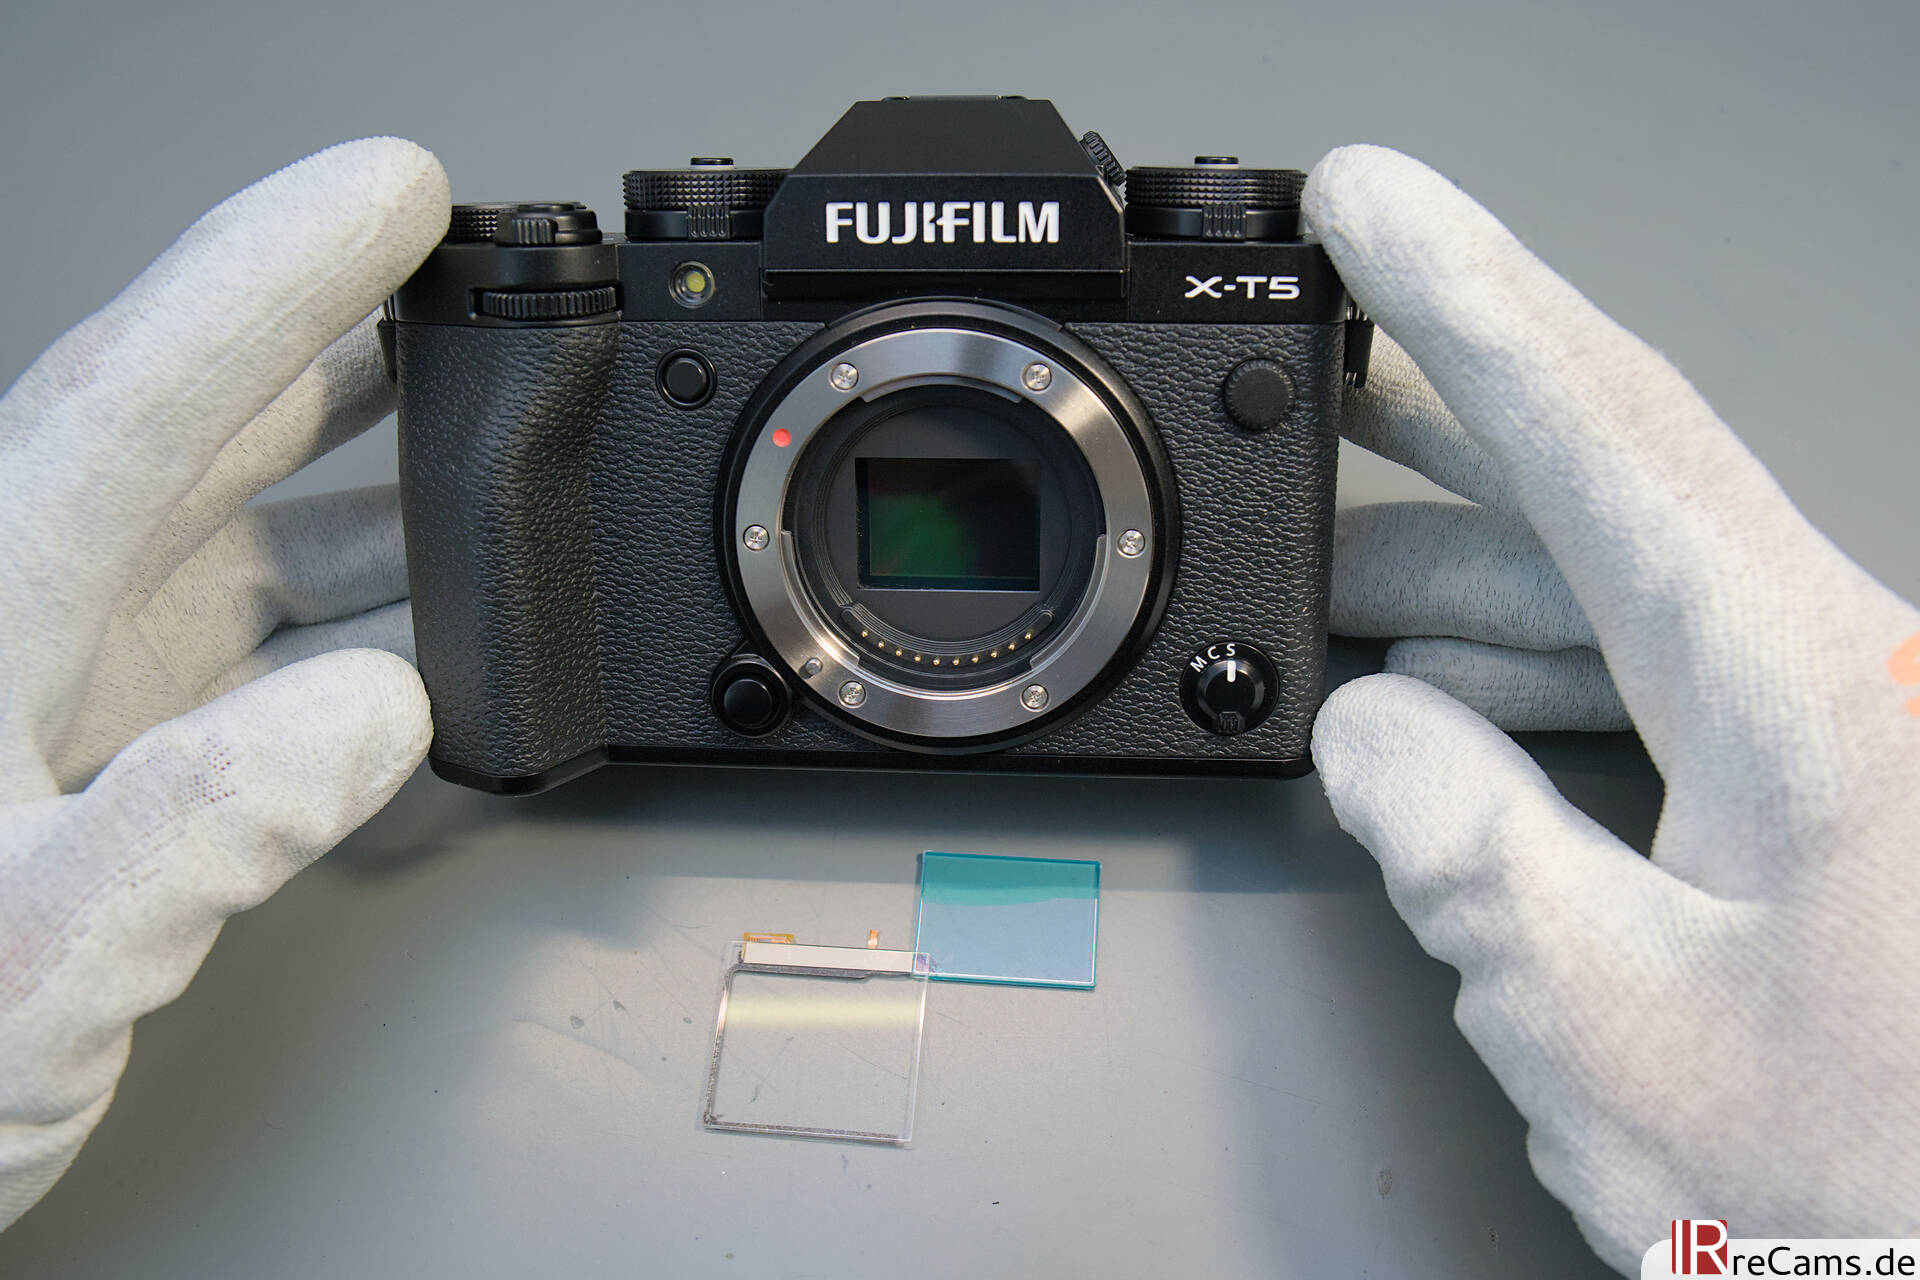
From here on, everything looks quite familiar again. The two blocking filters on the sensor are quickly removed and a full spectrum filter can be installed with a new seal. Reassembling the camera does not provide any new insights - we will not go through all the steps again. Instead, here is a picture of the fully converted camera.
Internal Infrared LED
Some modern cameras have an internal infrared LED. Stray light from this LED can be visible on infrared images in poor lighting conditions. However, a test shot of the converted X-T5 gives the all-clear: the camera has no such LED problems. The image is completely black after 30 seconds at ISO 12,800 (apart from the expected noise). This means that the X-T5 is not only suitable for the Conversion to an infrared or full spectrum camera but also for a Astromodification in order to become sensitive for H-Alpha light.

Fujifilm X-T5 Infrared Photography Tests
As already mentioned, the sensor of the X-T5 is the same 40 MP APS-C sensor that we already know from the X-H2. The sensor shows no unwanted sensor artifacts such as a line pattern of the PDFA pixels and delivers a very good resolution, dynamic range and noise performance. Only the white balance cannot be set in the camera straight away, as is typical for Fuji. We have examined and tested all these aspects in detail in our insider article on the X-H2. For all who are intereste: we warmheartly recommend reading the article in question .
Summary
The X-T5 is a wonderful camera that delivers just as great image quality as the X-H2. For the fact that video features have not been given huge weight in the development of the camera, you get a relatively small and compact photo camera that simply has it all. For an infrared or astro camera, the X-T5 is suitable in all respects - at least as long as you shoot in RAW. Unfortunately, the firmware does not manage to set the required white balance correctly for color IR images - as with almost all Fujifilm cameras, this task must be performed on the PC.
If you are looking for an upgrade for your camera, you can find the X-T5 in our store for a Infrared, Fullspectrum or Astro modification. We also offer the X-T5 as Converted new Camera with a 2-year guarantee.